Studio Lighting Setups Explained: Rembrandt, Butterfly, Split and Loop
The four classic portrait lighting patterns, where the light sits for each, how to spot them by the nose shadow, and how to prompt each one reliably.
Visual AI Club7 мин чтения
Этот гайд написан на английском.
Portrait photographers use four classic lighting patterns over and over: butterfly, loop, Rembrandt and split. Each one is just a single main light in a different position, and each leaves a recognizable shadow on the face. Learn where the light goes and what shadow to look for, and you can ask an image model for a pattern by name and check whether it delivered.
The one shadow that tells you everything
All four patterns are named after the shape of the shadow cast by the nose. That is useful for prompting, because it gives you a concrete thing to describe and a concrete thing to check afterward.
Imagine one light walking in an arc around a person's face, starting directly in front of them and ending at their side. As it moves, the nose shadow travels too:
- Light straight ahead and high: a small shadow directly under the nose. Butterfly.
- Light moves 30 to 45 degrees to one side: the shadow becomes a small loop angled toward the corner of the mouth. Loop.
- Light moves a little further and higher: the nose shadow stretches until it joins the shadow on the cheek, leaving a small triangle of light under the eye. Rembrandt.
- Light reaches 90 degrees: the nose shadow merges with the whole dark half of the face. Split.
Everything else (fill, background, reflectors) is a refinement. Get the main light right first.
Look at the catchlights, the small reflections of the light in the eyes. Their position mirrors the light: near 12 o'clock for butterfly, near 10 or 2 o'clock for loop and Rembrandt, and only one eye clearly lit for split. When an AI portrait has catchlights in the wrong place, the lighting usually looks subtly off too.
Butterfly lighting
Where the light sits: directly in front of the face, above the camera, angled down. It's also called paramount lighting, after its long use in classic Hollywood studio portraits.
What it does: lights both sides of the face evenly, puts a small butterfly-shaped shadow under the nose, and carves shadows under the cheekbones and chin. It makes faces look symmetrical and polished, which is why it dominates beauty and cosmetics work.
The clamshell variation: add a reflector or a weaker second light below the face, angled up. It fills the shadows under the eyes and chin and adds a second catchlight low in the eye. Clamshell is the classic beauty-campaign setup.
Studio beauty portrait, butterfly lighting: a large beauty dish directly in front of the face and above the camera, angled down, a small symmetrical shadow under the nose, soft shadows beneath the cheekbones, a white reflector below the chin for clamshell fill. Plain warm-gray backdrop.
Loop lighting
Where the light sits: about 30 to 45 degrees to one side of the camera and slightly above eye level.
What it does: creates a small loop of shadow from the nose that points down toward the corner of the mouth without touching the cheek shadow. The face gets gentle shape on one side while staying open and friendly. If you only learn one pattern, learn this one: it flatters most faces and suits headshots, team photos and everyday portraits.
Headshot with loop lighting: a softbox 40 degrees to camera left and slightly above eye level, a small shadow from the nose angled toward the corner of the mouth, not touching the cheek shadow. Soft fill from the right keeps the shadow side light. Neutral gray background.
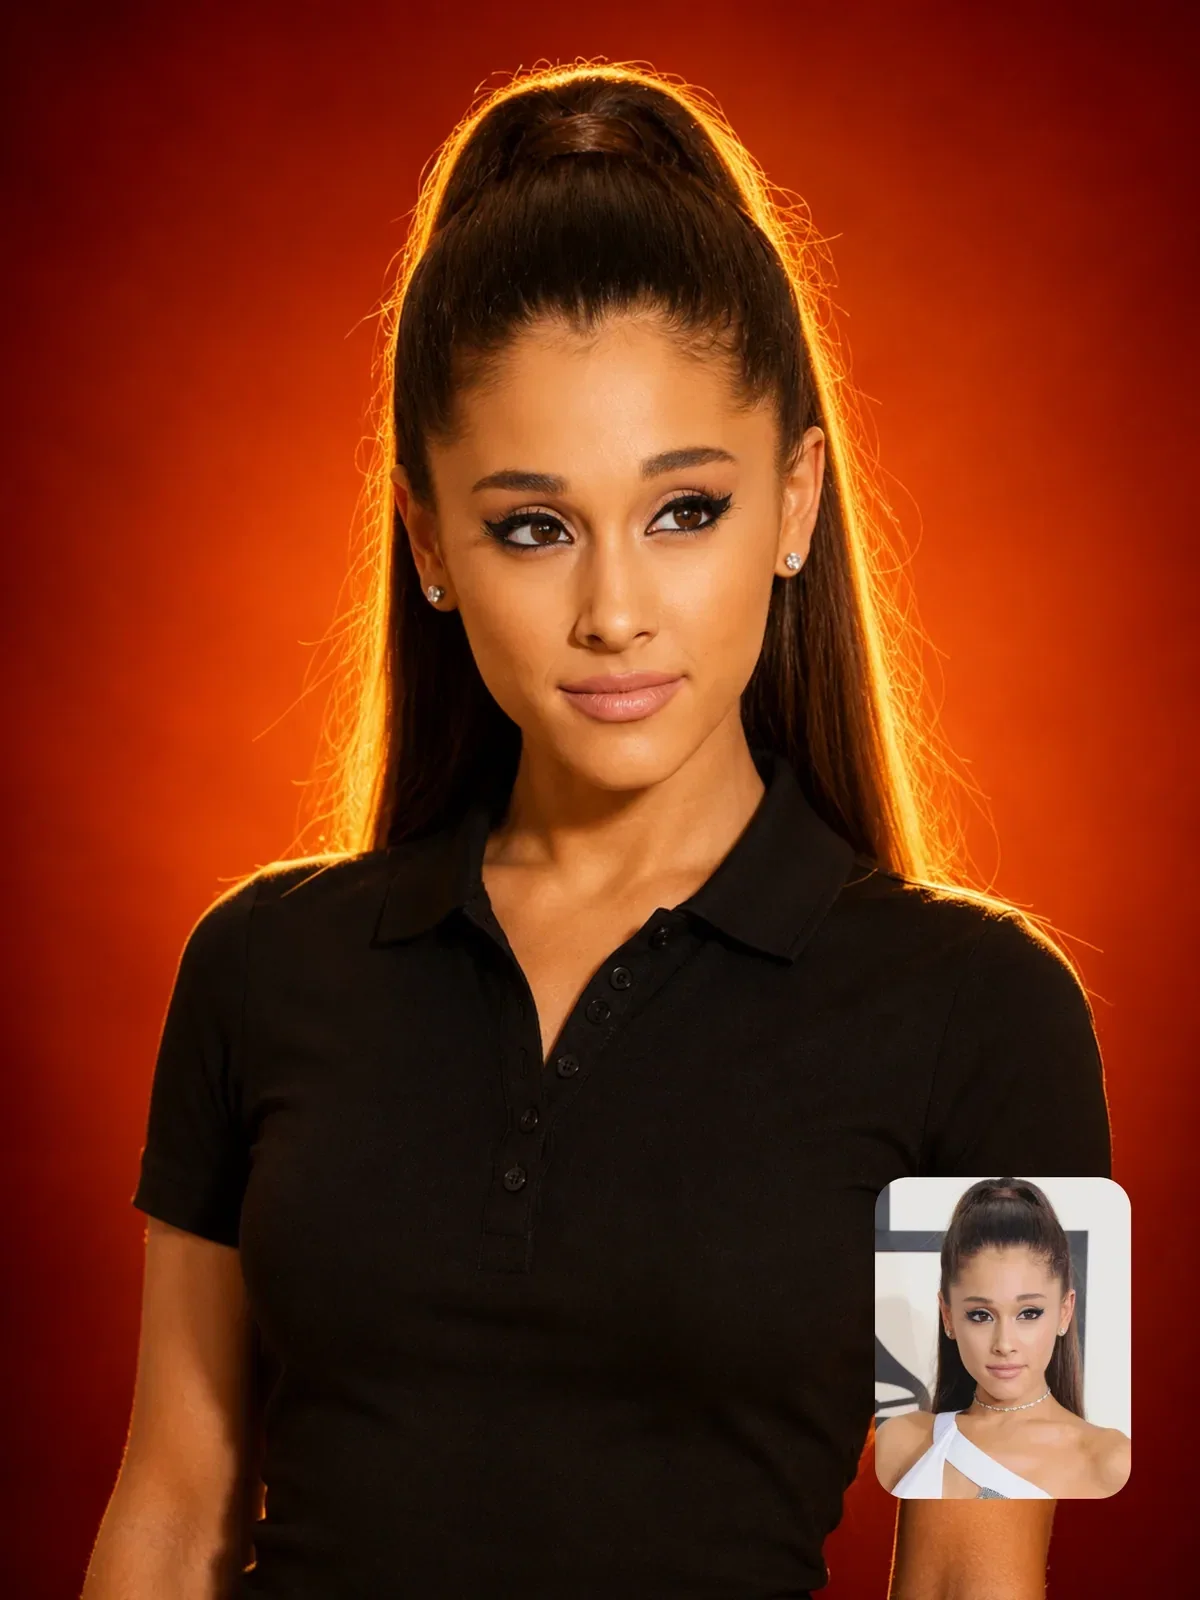

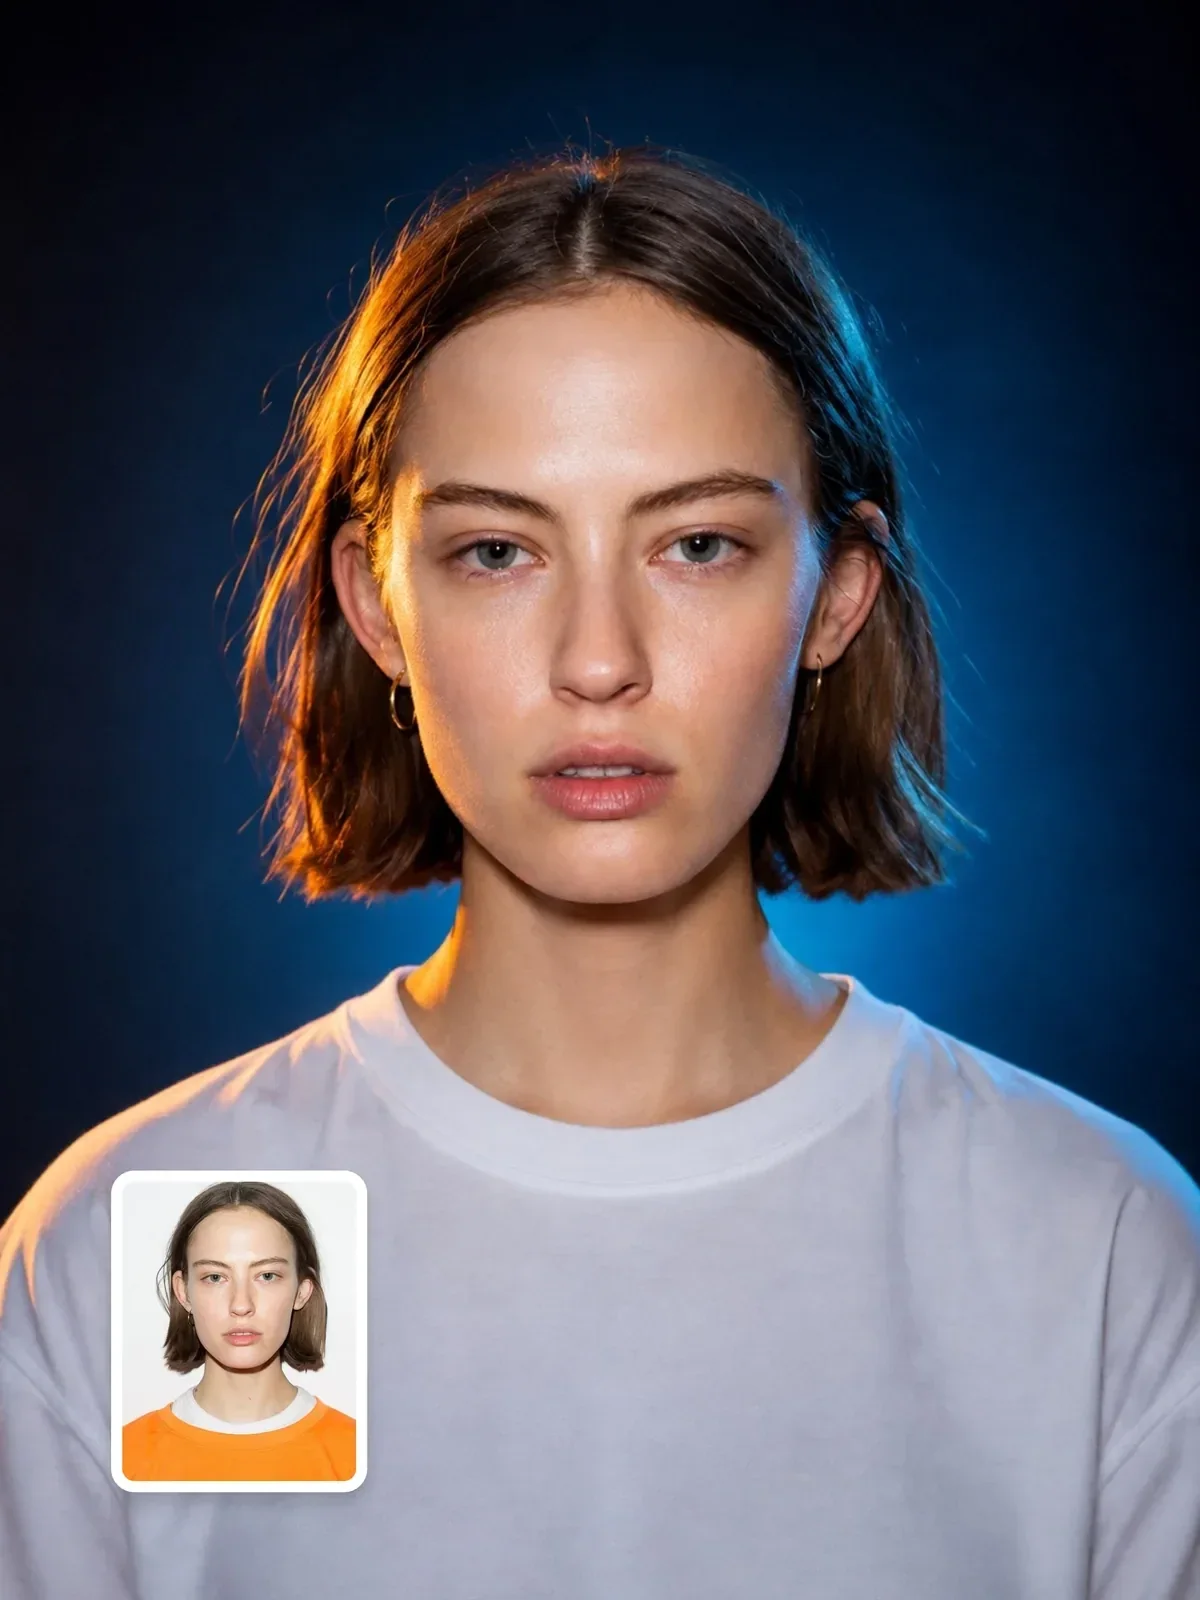
Clean commercial portraits like the black polo studio portrait usually sit in loop territory: enough shape to look premium, enough light to keep the face open.
Rembrandt lighting
Where the light sits: roughly 45 degrees to the side and noticeably higher than the head, angled down. Named after the painter Rembrandt van Rijn, whose portraits often show this light.
What it does: the nose shadow joins the cheek shadow, isolating a small, bright triangle of light on the shadow-side cheek just below the eye. The traditional guideline is that the triangle is no wider than the eye and no longer than the nose. The result feels painterly, thoughtful and a little moody.
Low-key portrait with Rembrandt lighting: a single soft light high and 45 degrees to camera right, the nose shadow connecting to the cheek shadow, a small triangle of light under the left eye. Little fill, dark brown painted backdrop, warm tones.
Write the triangle into the prompt. The phrase Rembrandt lighting on its own often comes back as generic side light, while describing the triangle gives the model a visible target it can hit.
Split lighting
Where the light sits: at 90 degrees to the side of the face, at about eye level.
What it does: divides the face down the middle, one half lit and one half in shadow. It's bold and graphic, and it suits musician portraits, character studies, black-and-white work and any image about duality or tension. It also emphasizes skin texture on the lit side, so expect pores and fine lines to show.
Black and white portrait with split lighting: a hard light at exactly 90 degrees from the left at eye level, the right half of the face falling into deep shadow, only the left eye catching light. No fill. Black background.
Choosing a pattern for the job
| Pattern | Mood | Typical use |
|---|---|---|
| Butterfly / clamshell | polished, glamorous, symmetrical | beauty, cosmetics, magazine covers |
| Loop | friendly, open, natural | headshots, team pages, everyday portraits |
| Rembrandt | thoughtful, painterly, quiet | fine-art portraits, author photos, character studies |
| Split | bold, tense, graphic | musicians, black and white, dramatic editorial |
The pattern describes position, not softness. Any of the four can be made with a large softbox or a bare hard light, and that choice changes the feel as much as the position does. Soft Rembrandt light looks like an old master painting; hard Rembrandt light looks like a crime drama. Always state both: where the light is and how soft it is.
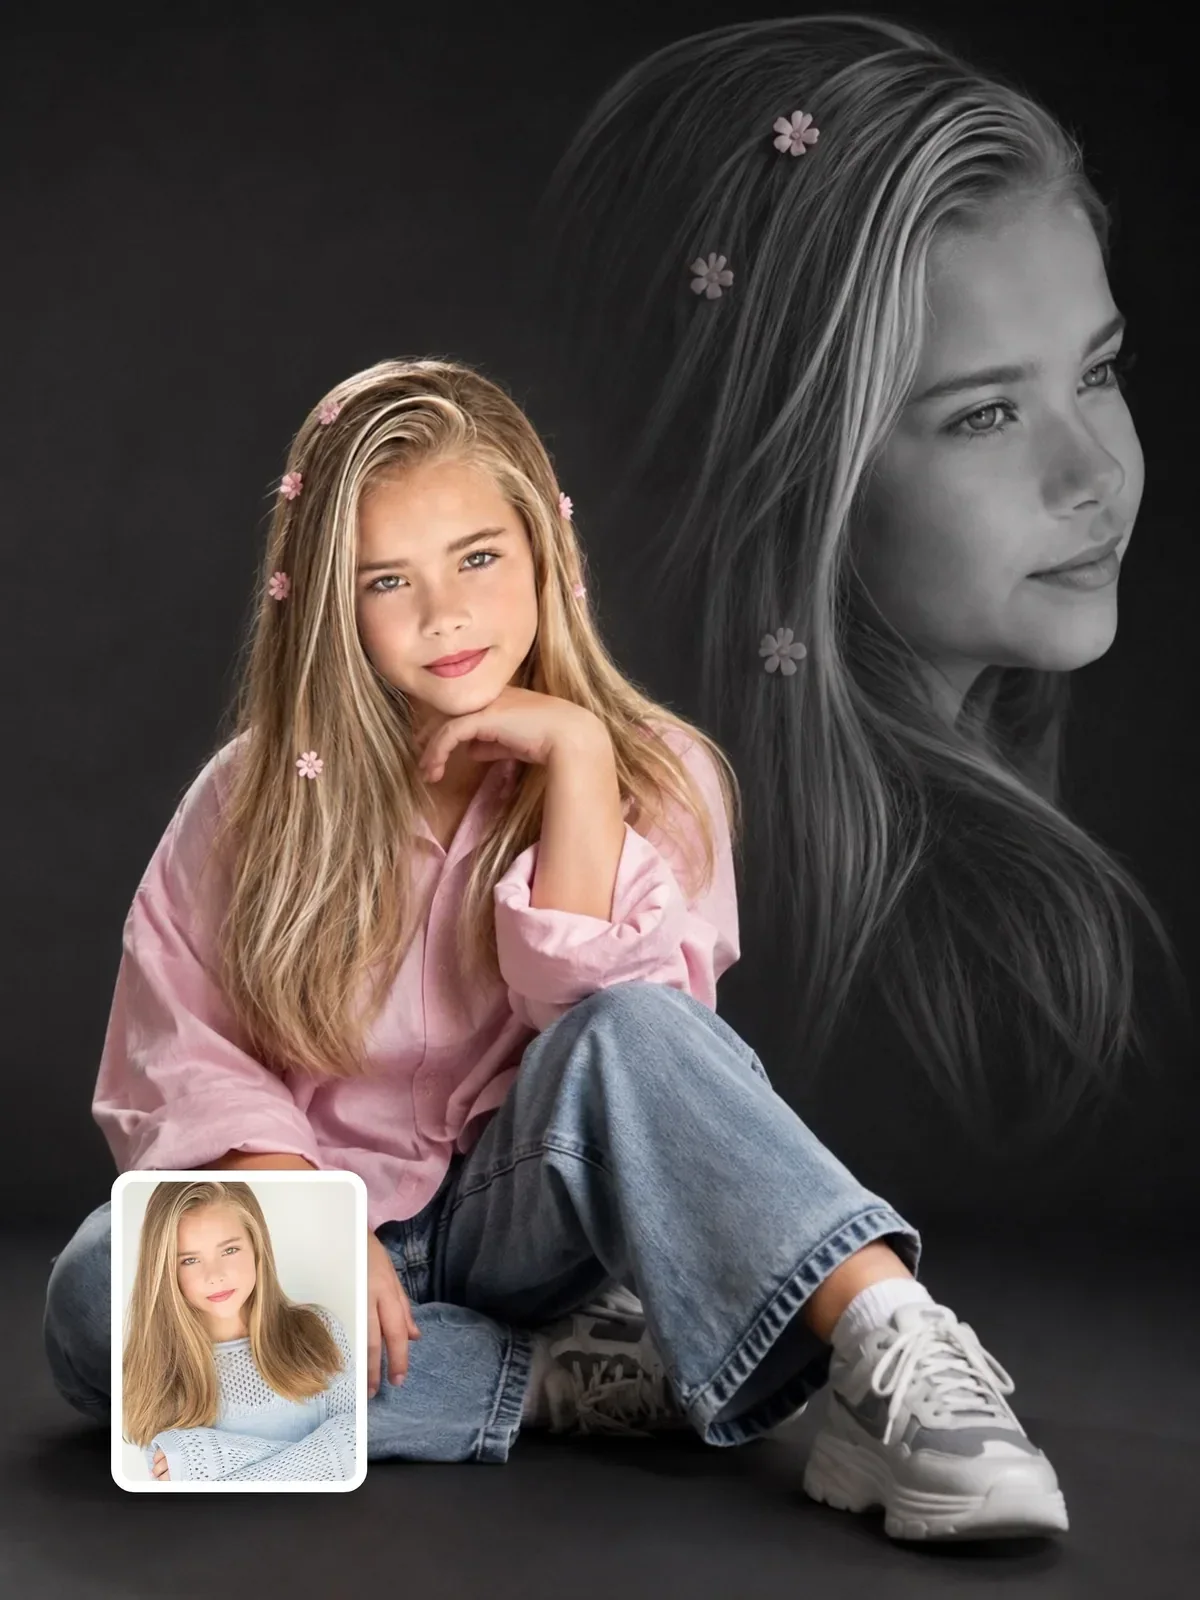
For gentle subjects, softer is almost always right. Studio portraits of children, like the fine-art children's studio portrait, rely on large soft sources in loop or butterfly positions. If you work from a photo of a child, use your own family photos, with the parents' permission.
Refining any pattern
Once the main light is in place, two more decisions shape the final portrait: which side of a turned face gets the light, and how much light reaches the shadows.
Broad and short: turning the face
Faces are rarely square to the camera. When someone turns their head slightly, the side facing the camera looks wider and the far side narrower. Where you put the light relative to that turn changes the face's apparent width.
- Broad lighting lights the side turned toward the camera. The visible part of the face looks wider and flatter. Useful for narrow faces or a bright, open feel.
- Short lighting lights the side turned away from the camera, leaving the near side in shadow. The face looks slimmer and more sculpted. It's the more common choice in moody editorial work.
Add it as one clause: head turned slightly to the right, short lighting, the near cheek in shadow.
Fill, ratios and extra lights
Each pattern can be gentle or dramatic depending on how much light reaches the shadow side. Photographers describe this as a lighting ratio between the key and the shadow side. Around 2:1 looks soft and commercial, 4:1 has clear shape, and 8:1 or more looks like film noir. You don't need the numbers in your prompt, but the words should match: subtle fill, moderate fill, or no fill, deep shadows.
Two more lights finish a classic studio setup:
- Hair light: a small light above and behind, adding a sheen to the hair and separating it from the background.
- Background light: a light aimed at the backdrop, often creating a soft glow behind the head that fades toward the edges.
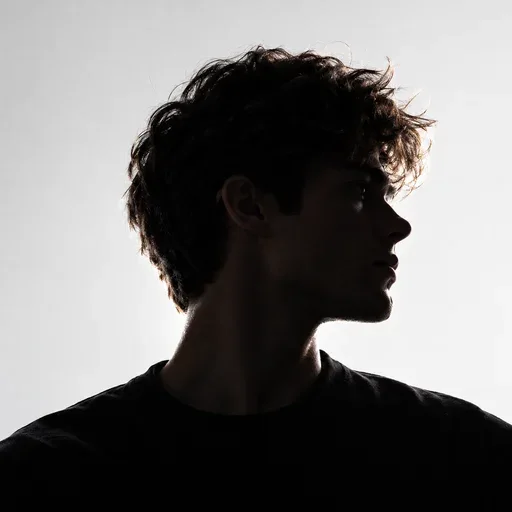
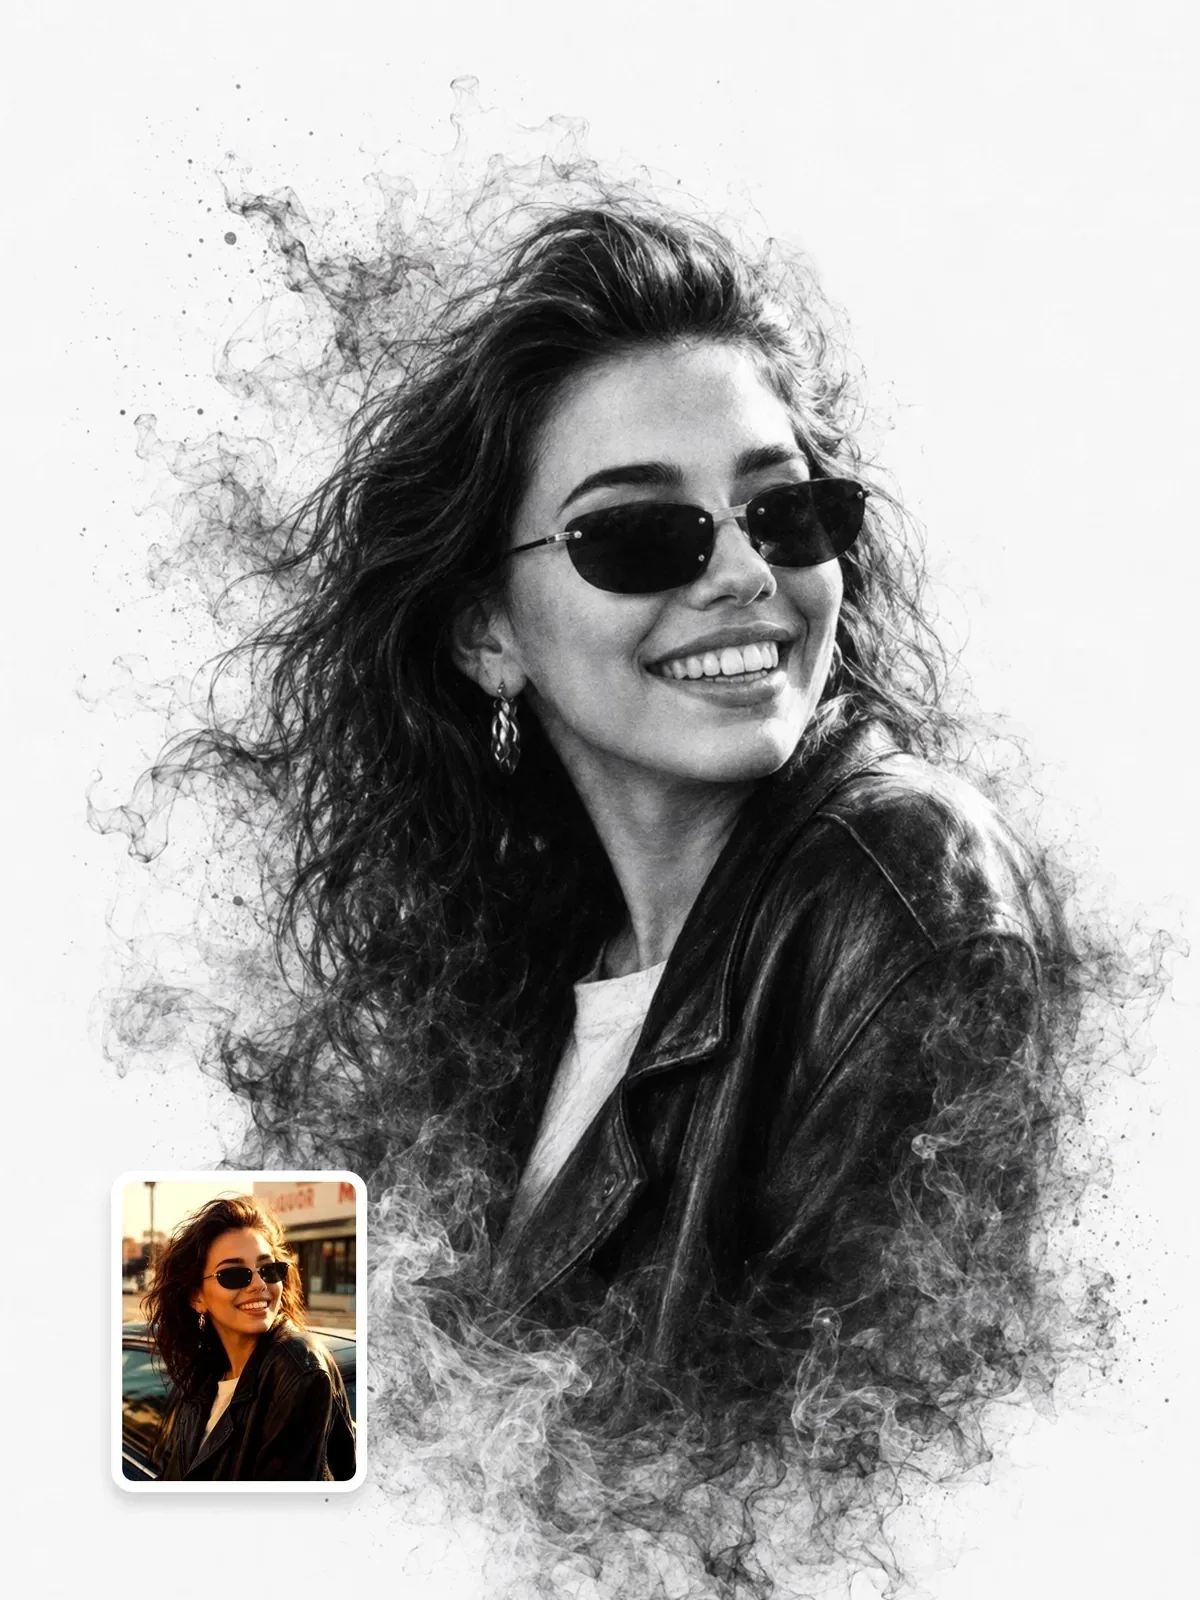
The monochrome fine-art portrait is a good place to practice reading these patterns, since black and white removes color and leaves only light and shadow to look at. For the full set of modifier and direction words, see the lighting vocabulary guide.
Practice: four patterns on one face
Use a portrait of yourself, or of someone who agreed to it, and the same prompt four times. Change only the lighting sentence. Keep identity, wardrobe, background and framing identical, as described in the one-variable-at-a-time guide.
- Butterfly: light in front and above, small shadow under the nose, catchlight at 12 o'clock.
- Loop: light 40 degrees to one side, small loop shadow toward the mouth corner.
- Rembrandt: light high and 45 degrees to the side, triangle of light under the far eye.
- Split: light at 90 degrees, half the face in shadow.
Check each result against its nose shadow and catchlights. If a pattern didn't land, add the shadow description more explicitly and try again. Once all four work, you have four lighting sentences you can paste into any portrait prompt.