Depth of Field and Bokeh: Controlling What Stays Sharp
How aperture, distance and focal length decide what stays sharp, what makes good bokeh, and how to prompt a focus plane instead of a pasted-on blur.
Visual AI Club7 min de lectura
Esta guía está escrita en inglés.

A sharp subject against a soft background is the look most people want from a "professional" photo, and it's also where AI images most often give themselves away. In this guide you'll learn what really controls depth of field, how to describe the zone of focus so the blur looks optical rather than pasted on, and when to ask for everything sharp instead.
What depth of field actually is
A lens focuses perfectly at only one distance. Everything in front of and behind that distance is slightly out of focus, and the further away from it, the softer it gets. Depth of field is the zone around the focus distance that still looks acceptably sharp to the eye.
Thinking of it as a zone, not a switch, solves most AI blur problems. In a real photo, sharpness doesn't stop at the edge of a person's hair. It fades gradually through space. The ground at the subject's feet is sharp, the ground two meters behind is soft, and the ground twenty meters behind is very soft. A believable image follows that gradient.
The four controls behind a blurry background
Photographers control depth of field with four things. You can describe any of them in a prompt.
- Aperture. The opening inside the lens, written as an f-number. Smaller numbers mean a wider opening and a shallower zone: f/1.4 and f/1.8 are very shallow, f/8 and f/11 are deep. The f-number is the focal length divided by the diameter of the opening, which is why the scale looks backward at first.
- Distance to the subject. The closer you focus, the shallower the zone. A macro shot of a ring at f/8 can still have a thin slice of focus, while a person ten meters away at f/2.8 can be sharp from head to toe.
- Focal length and framing. For the same framing, longer lenses make the background look blurrier and larger, because they magnify it. An 85mm portrait at f/2 separates the subject far more than a 24mm portrait at f/2. The focal length guide explains the perspective side of this.
- Distance from subject to background. Move the subject away from the wall and the wall softens dramatically. Of the four controls, this is the one people forget, and it's the easiest to describe:
standing five meters in front of the trees.
Sensor size plays a role too. Phones have tiny sensors and very short real focal lengths, so their natural depth of field is deep; that's why phones use software to fake portrait blur. Large-sensor cameras produce shallow focus optically. When you want the real-camera look, name a large-sensor setting; when you want a candid phone look, ask for deep focus.
Choosing a depth for the picture
| Setting | What stays sharp | Use it for |
|---|---|---|
| f/1.2–f/2 | eyes and a sliver around them; background melts away | portraits, single objects, dreamy moods |
| f/2.8–f/4 | a whole face or a small product; background soft but readable | half-body portraits, food, lifestyle |
| f/5.6–f/8 | a person and their nearby surroundings | environmental portraits, groups, street |
| f/11–f/16 | almost everything from front to back | landscapes, architecture, flat lays |
Use these as language rather than physics. A model won't compute the depth of field of f/2.8 at two meters. But it has learned what photos labeled with those numbers tend to look like, and the f-number nudges it toward that range. Back it up with a plain description of what should be sharp.


The underwater dreamy portrait pairs 85mm with f/1.8 for a close-up, a classic shallow-focus combination where only the face holds sharp detail.
Bokeh: the quality of the blur
Depth of field is how much is blurred. Bokeh is what that blur looks like. Two photos can have identical depth of field and very different bokeh.
- Smooth or creamy bokeh: out-of-focus areas melt into soft gradients with no hard edges. The look of many good portrait lenses.
- Busy or nervous bokeh: blurred areas keep harsh edges and double lines, especially branches and leaves. Often looks distracting.
- Highlight shape: small bright points like streetlights, fairy lights or sun through leaves become discs. Their shape follows the lens's aperture: round with rounded blades, polygonal with straight blades.
- Cat's-eye bokeh: near the edges of the frame, discs get clipped into lemon shapes, which gives some vintage lenses a swirling look.
- Soap-bubble bokeh: discs with bright edges, typical of certain old lens designs.
Background of warm string lights rendered as large, soft, perfectly round bokeh discs, overlapping gently, no hard edges.
Bright points produce the most visible bokeh, so if you want a bokeh-rich image, put small lights in the background on purpose: a café at night, a city street after rain, sun glinting through leaves.
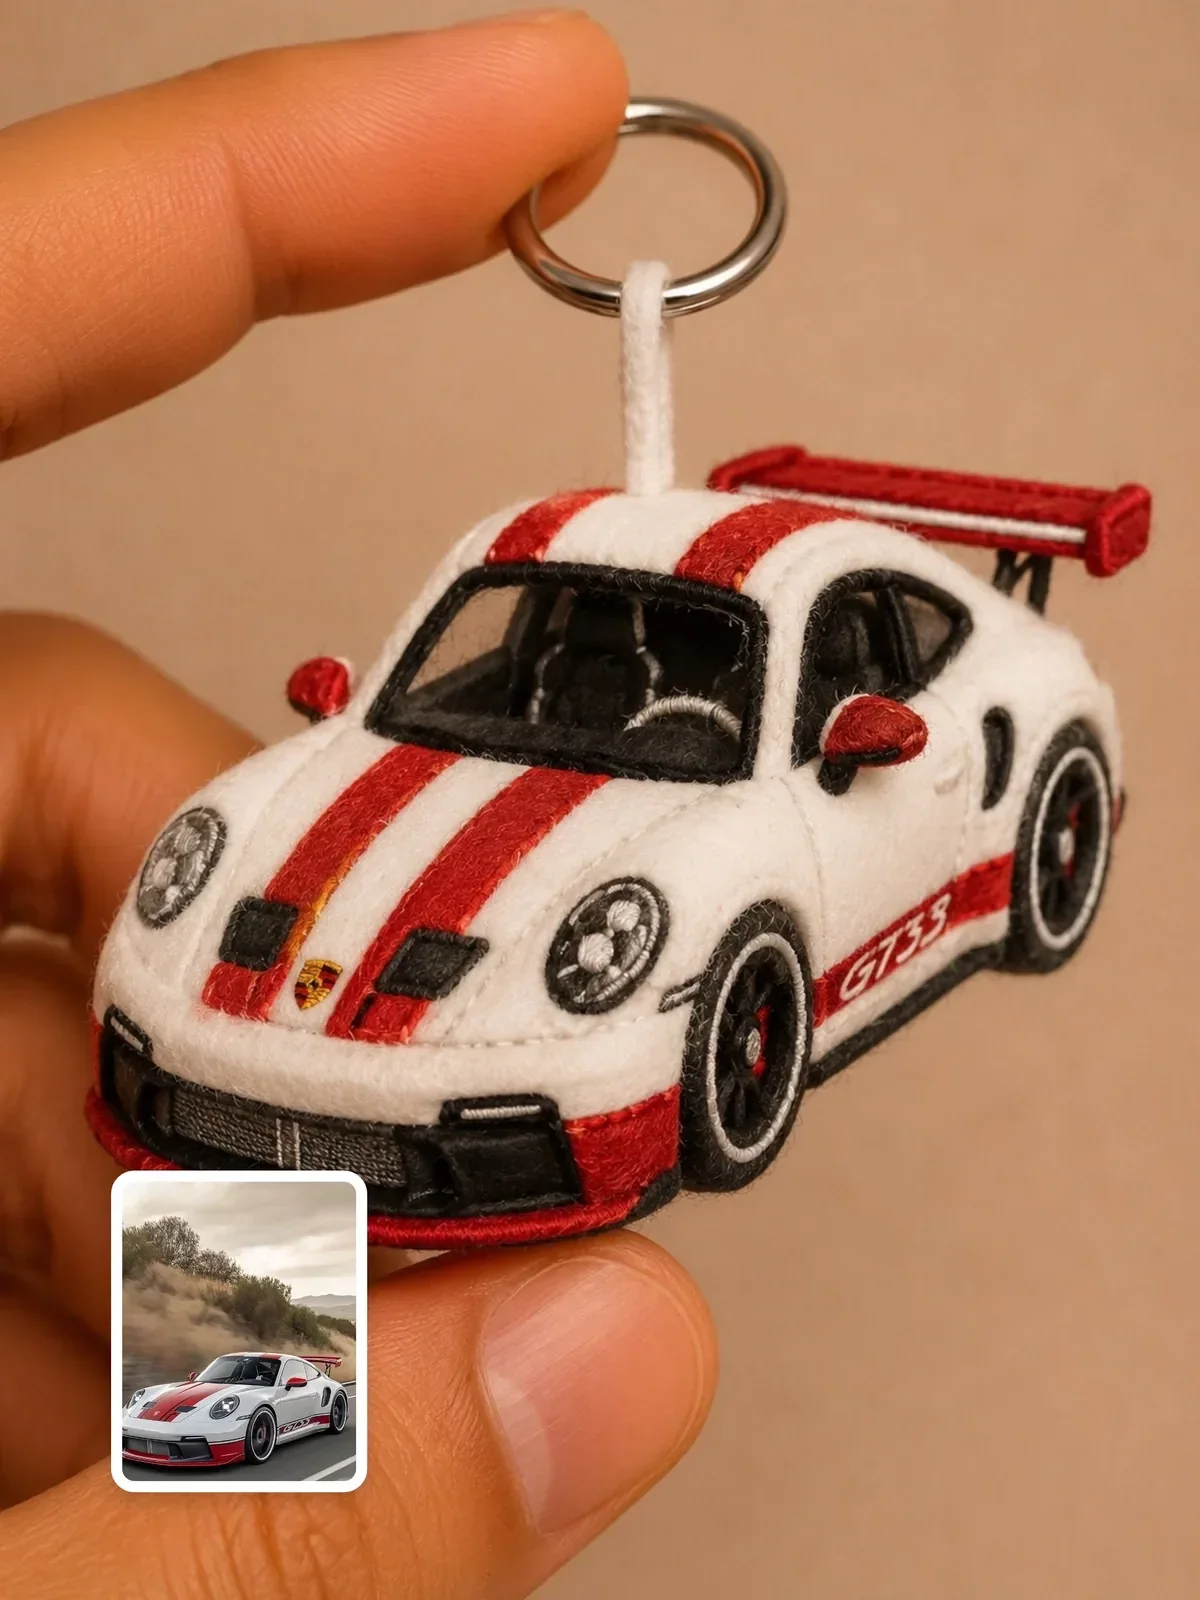
Small products benefit the most. The plush keychain character prompt keeps the toy crisp and lets the background dissolve into soft bokeh, which reads instantly as close-up product photography.
Where AI blur goes wrong
Image models are good at blurry backgrounds and less good at blur that obeys distance. Watch for these mistakes:
- The cut-out halo. A crisp outline around the hair or shoulders, then sudden blur, as if the person were cut out and pasted on. In a real photo, the edge of the subject is as sharp as the subject, and the background behind it softens without a visible seam.
- Mismatched planes. One shoulder sharp and the other soft, or a hand held at the same distance as the face but blurred.
- Flat ground blur. The floor right under the subject's feet is as blurry as the far background. Real focus falls off gradually with distance.
- Group blur. In shallow-focus group photos, people one step behind become unrecognizable. Unless that's the story, pick a deeper setting.
- Product blur. The front of a bottle sharp, the label at the same distance soft. For products, deeper focus nearly always wins.
Describe the focus plane, not just the blur
The fix for most of those failures is to tell the model where the focus is and how it falls off. Think like a camera operator pulling focus: what is the exact focus point, and what happens in front of and behind it?
Portrait of a woman in a sunflower field, blurry background, bokeh.
Portrait of a woman in a sunflower field, 85mm at f/2. Focus on her nearest eye. Her face and the sunflower beside her shoulder are sharp; the flowers a few meters behind soften gradually into a smooth golden blur. A few out-of-focus petals cross the foreground in the lower left.
Three things changed: a focus point, a gradient described in distances, and a foreground layer. Foreground blur is underused. A soft, out-of-focus object close to the lens, such as leaves, a glass or a doorframe, makes the frame feel deep, and it convinces the viewer the image came through a real lens.
For small things like rings, insects or tiny figurines, ask for macro photography with a very thin focus plane. For miniature-looking real places, the band of focus from a tilt-shift lens does the opposite trick; see miniature worlds and dioramas.
When you want everything sharp
Deep focus is a creative choice, not a failure. Flat lays, landscapes, interiors, group photos, recipes and anything where details carry information work better with everything readable. Phone photos are also naturally deep, so deep focus is part of an authentic casual look.
Write it plainly: deep depth of field, everything from the foreground stones to the distant mountains in sharp focus, f/11. For product shots: the whole product in sharp focus, front to back, background simple and evenly lit rather than blur, which keeps the label and edges crisp.
Landscape photographers have a rule of thumb for this: focus roughly a third of the way into the scene, at a middle aperture like f/8 or f/11, and both the near rocks and the distant hills stay acceptably sharp. You can borrow the description directly: focused a third of the way into the scene, near and far both sharp.
The three-depth drill
Pick a subject with a background that has some depth, like a person on a street, a cup on a café table by the window, or a toy on a bookshelf. Generate it three ways, changing only the focus sentence:
- Very shallow:
85mm at f/1.4, focus on the nearest eye, background melting into smooth bokeh. - Moderate:
50mm at f/4, subject sharp, background soft but recognizable. - Deep:
35mm at f/11, everything sharp from foreground to background.
Then zoom in on the edges of the subject and the ground beneath it. The version where the blur grows smoothly with distance is the one to keep, and its focus sentence is the one to reuse. If you want one more variable to test, see how to iterate one change at a time.