Miniature Worlds and Dioramas: Tilt-Shift, Clay and Resin
Build convincing miniature worlds with AI: the focus cues that make things look small, tilt-shift views, clay and resin dioramas, and tabletop light.
Visual AI Club7 dk okuma
Bu rehber İngilizce yazılmıştır.
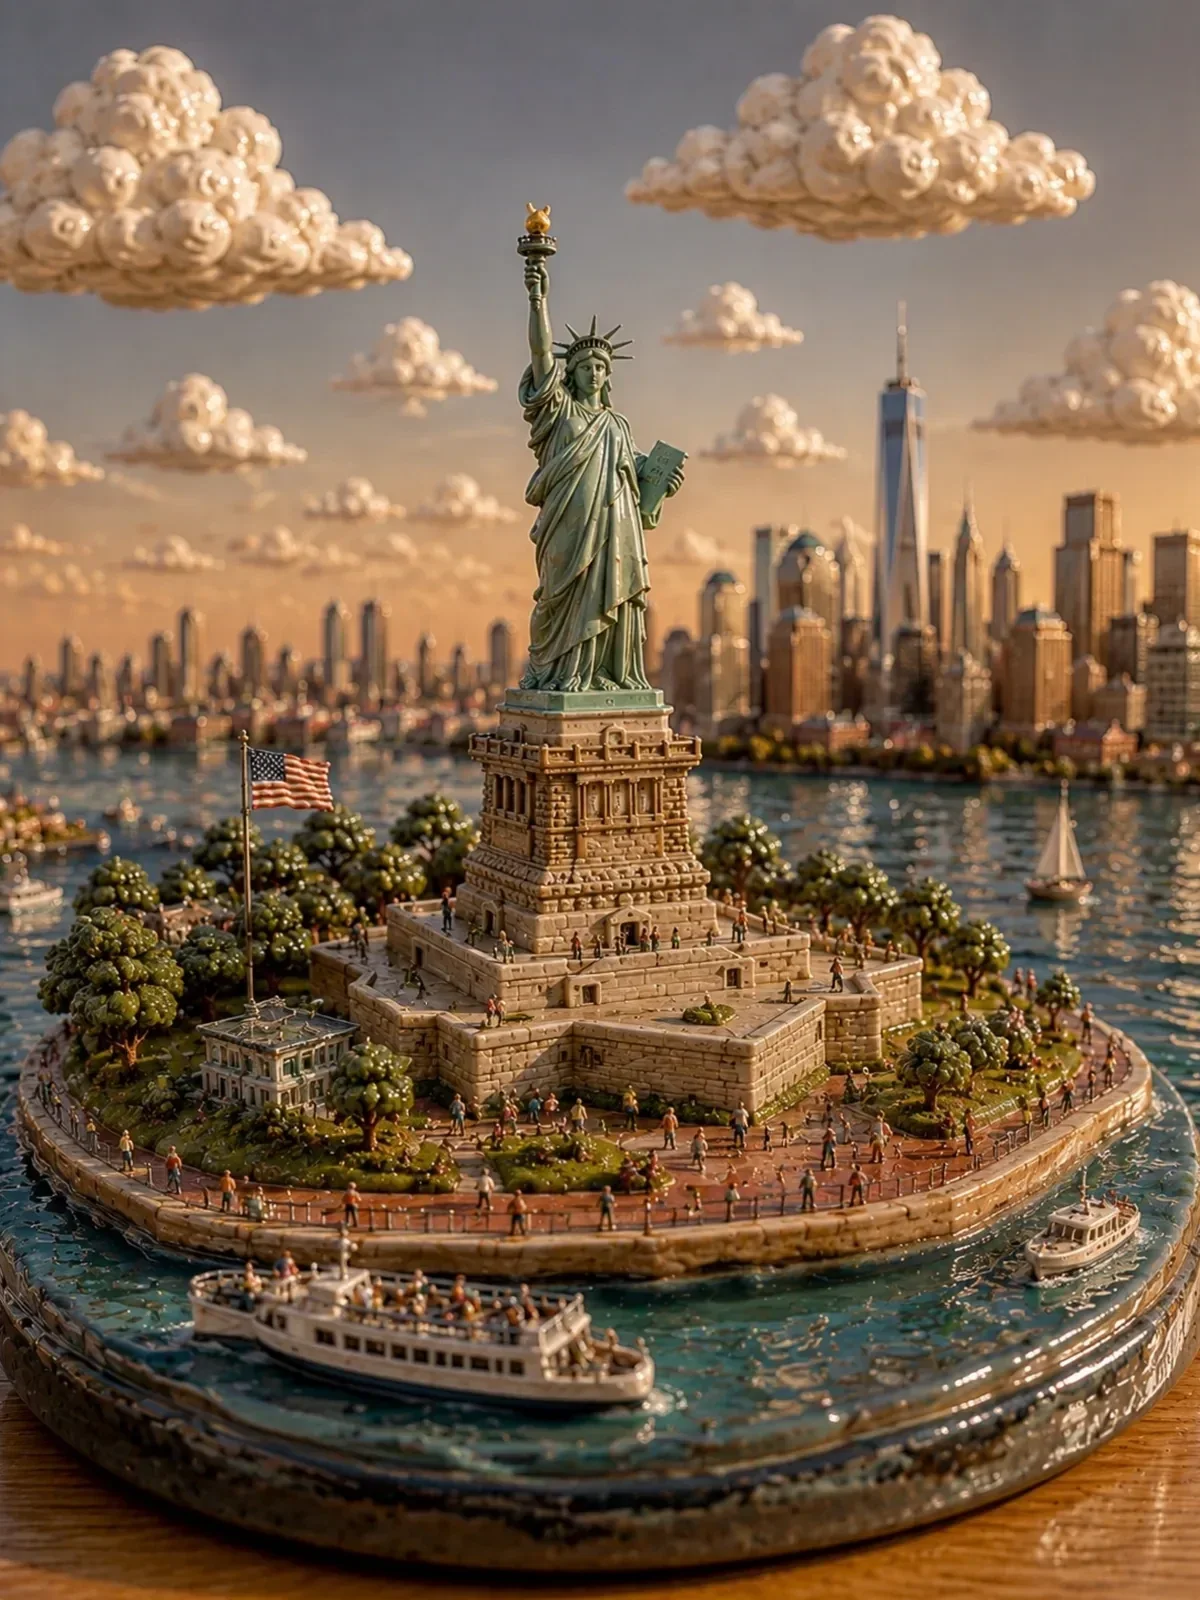
Why does a photo of a real city sometimes look like a toy model? The answer is mostly optics, and once you understand it you can push any scene toward small or large on purpose. This guide covers the camera cues that signal miniature scale, then three ways to build a tiny world: the tilt-shift view of a real place, the handmade clay diorama, and the glossy resin piece.
How the eye judges size
When you photograph something tiny, you have to get very close to it, and at close focusing distances the depth of field becomes extremely thin. Only a narrow slice of the scene is sharp; everything in front and behind melts into blur. Our brains have learned this from looking at small objects up close, so a very shallow focus band reads as small scale.
That is why the same prompt with and without heavy blur can look like a city or a model of a city. The other cues reinforce it.
- Thin focus band: one strip of sharpness, strong blur above and below.
- High viewing angle: we usually look down at models on a table, so a view from above at 30 to 60 degrees feels like standing over a tabletop.
- Bright, saturated color: model paint is often more saturated and cleaner than real surfaces.
- Simplified surfaces: fewer stains, cracks and small irregularities.
- Oversized details: water ripples, leaves and textures that are too big for the scale.
- Human props: a fingertip, tweezers, a paintbrush or a coffee cup next to the scene.
If a miniature still looks life-size, the fastest fix is usually a giant out-of-focus object in the foreground, like the edge of a cup or a pair of fingers. Nothing announces scale more clearly.
The tilt-shift look: real places made tiny
A tilt-shift lens can tilt its glass relative to the sensor, which tilts the plane of focus. Photographers use it to keep tall buildings straight, but tilted the other way it creates a narrow diagonal band of focus across a wide scene. Photograph a busy square from a rooftop like this and it looks like a model railway layout.
You do not need to know the mechanics to prompt it. Describe the result: a high vantage point, a horizontal band of sharp focus across the middle of the frame, strong blur at the top and bottom, boosted saturation and contrast, small people and cars. Bright, hard sunlight helps, because crisp shadows look like lamps on a tabletop.
Tilt-shift photo of a harbor market seen from a high rooftop. A narrow band of sharp focus across the middle of the frame on colorful stalls and tiny people, heavy blur at the top and bottom, bright midday sun, saturated colors, looks like a model town.
Scenes with many small repeating things work best: markets, traffic, beaches, stadium crowds, construction sites. A single large building with nothing around it gives the eye no scale to misread.
Clay dioramas: handmade and slightly imperfect
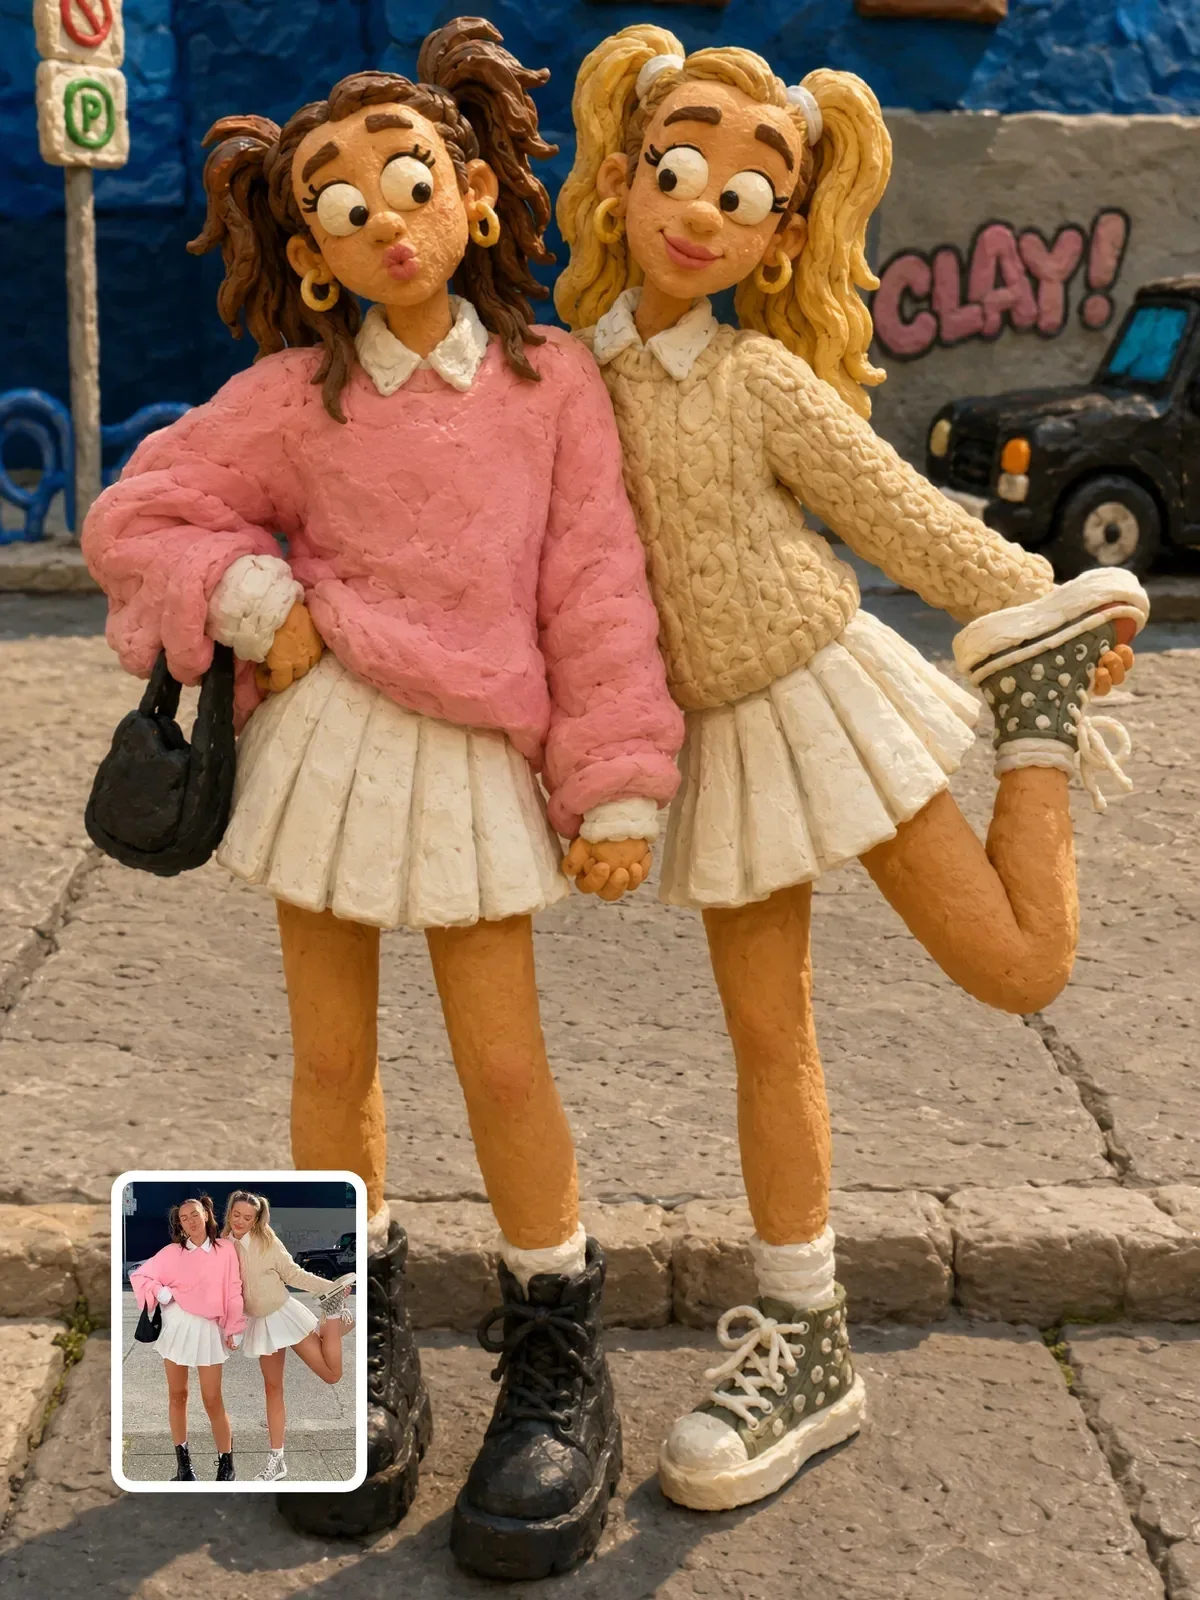
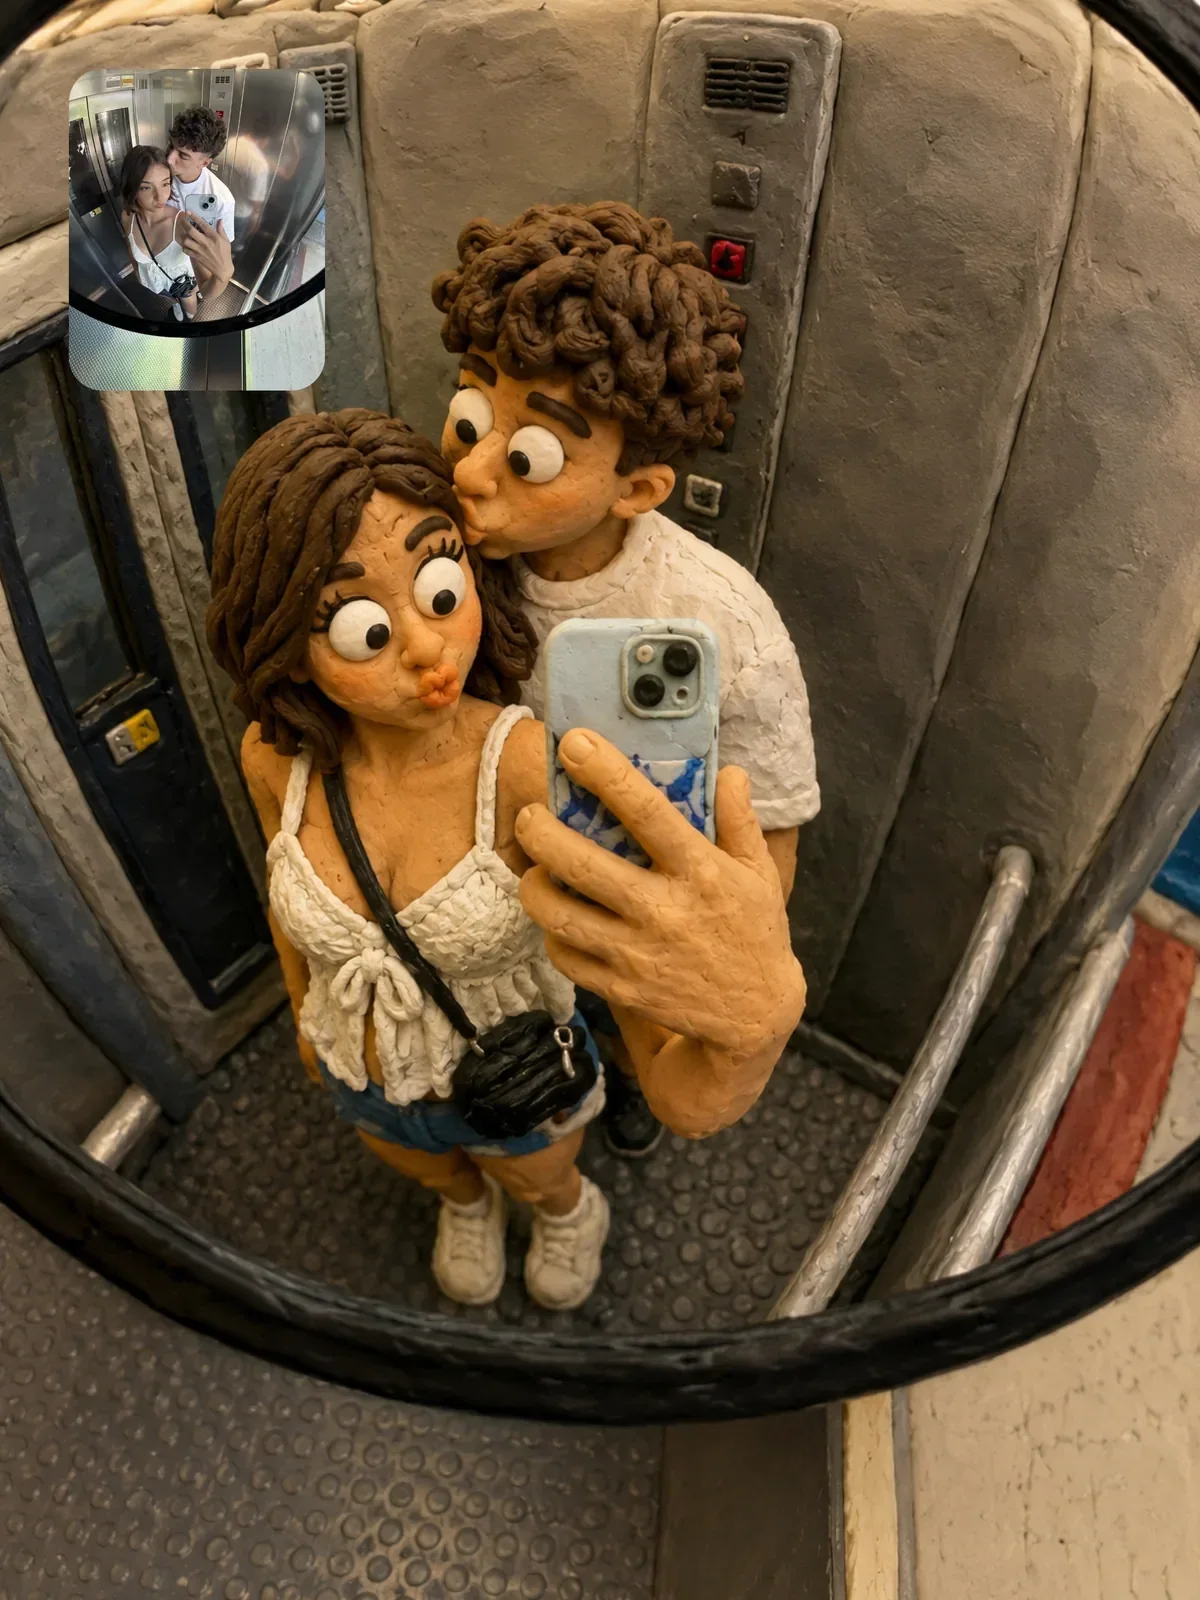
A diorama is a small three-dimensional scene, built by hand and usually mounted on a base. Clay dioramas have a warm, soft look because every surface was shaped with fingers and tools. The key to making AI versions convincing is to ask for evidence of the hand.
- Faint fingerprints and tool marks on soft surfaces.
- Slightly rounded edges on buildings, nothing perfectly straight.
- Matte surfaces with a soft sheen, not shiny plastic.
- Simplified trees as clay balls or twisted wire with foam leaves.
- Small colors mixed by hand, a little uneven within each surface.
It also helps to think in a real modeling scale. Model railway builders work in fixed ratios, such as HO at 1:87 or N at 1:160, so a person is roughly two centimeters or one centimeter tall. Saying a diorama in HO scale with figures about two centimeters tall gives the model a concrete size for every tree, door and bench, which keeps the proportions coherent across the whole scene.
If you want the clay to feel like stop-motion animation rather than a static model, the claymation and plasticine guide goes further into that look.

Resin, water and glass
Model makers pour clear epoxy resin to make water: rivers, sea and ponds that look wet but are solid. Resin has its own visual signature, and it is one of the most satisfying details to prompt.
- Deep color gradient: clear at the shore, then turquoise, then deep blue, because the resin is tinted in layers.
- Glossy surface with sharp reflections of the lights above.
- Frozen ripples and foam made with white paint and texture gel.
- Tiny trapped bubbles inside the resin, a real-world flaw that sells it.
- Cross-section edge: the river or sea cut flat at the side of the base, showing the depth like a slice of cake.
Combining glossy resin with matte clay is very effective, because the contrast in surfaces tells the viewer they are looking at a physical object made of different materials.
Bases, domes and presentation
How the miniature is presented decides whether it reads as a collectible, a museum model or a world you could step into.
Collectible display
A round or square base with a cut-away edge that shows layers of soil, stone and roots. Optionally a glass dome over it. A plain backdrop in a soft color, studio lighting, the whole piece in frame. This is the product-shot approach.
Desk in progress
The diorama on a cutting mat, with tweezers, paint pots and a brush nearby, maybe a hand placing the last tiny figure. Warm desk lamp, slightly messy. This tells a story of making.
Inside the world
The camera drops to the street level of the model, with a very wide lens and extreme shallow focus. You lose the base and the room around it, and the scene becomes an immersive tiny world, as if you were a figure standing in it.
Lighting a tabletop world
Miniatures are usually photographed with one main light: a window or a single softbox, because a small set needs very little light and multiple sources create confusing overlapping shadows. Name it, and say where it comes from.
Tiny practical lights inside the model, such as glowing windows, streetlamps and lanterns, add life and scale. Ask for warm light around 2700 K in the windows against a cooler blue evening ambient, and the miniature suddenly looks inhabited. The contrast between warm interior and cool exterior is the same one used in real twilight cityscapes; the golden hour and blue hour guide explains it.
Keep shadows soft but present. A single large window gives soft shadows that still show the direction of light, which grounds every tiny house and tree on the base. Very hard light from a small bulb can work for a dramatic night scene, but then every shadow becomes a strong shape, and any mistake in direction is easy to spot.
A miniature village in winter.
Handmade clay miniature of a snowy mountain village on a round wooden base, cross-section edge showing rock and soil layers. Glossy resin stream with tiny trapped bubbles, cotton-like snow, warm 2700 K light glowing in every window, cool blue evening light from a window on the left. Shot from 45 degrees above with very shallow depth of field, a fingertip at the edge of the frame for scale.
Using real places and your own photos
Landmark dioramas are popular for travel content: your hometown square or the bridge you crossed on vacation, turned into a collectible model. Name the place and list three or four local details that make it recognizable, such as a type of tree, roof color, a boat style or a market umbrella. Generic details make every city look the same.
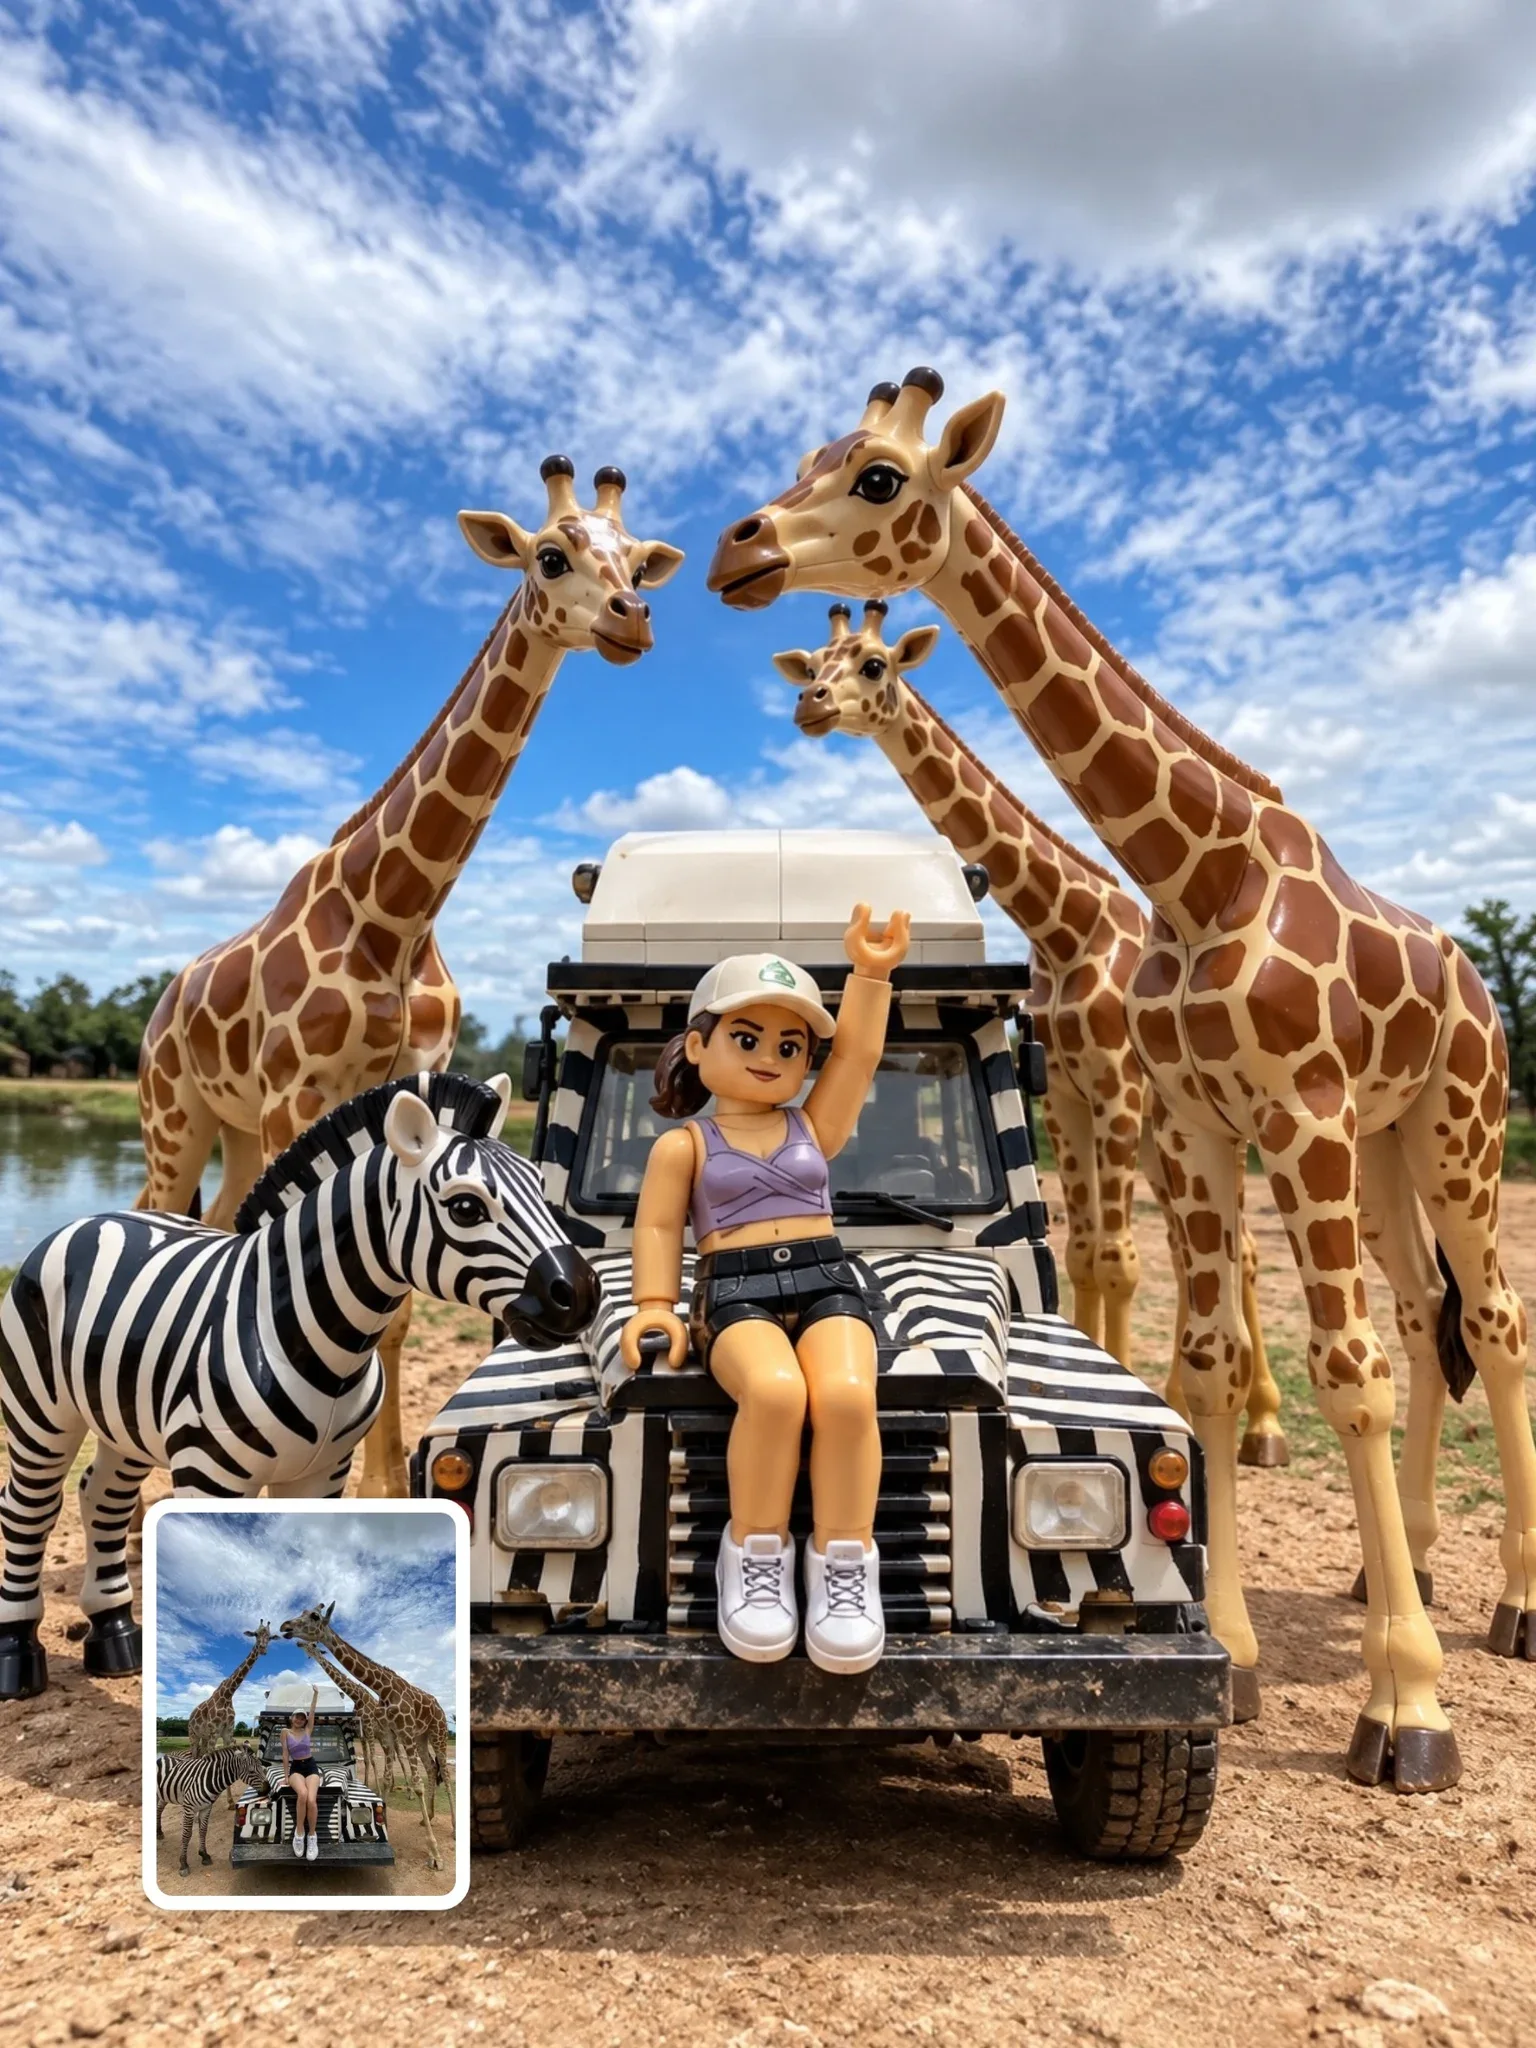
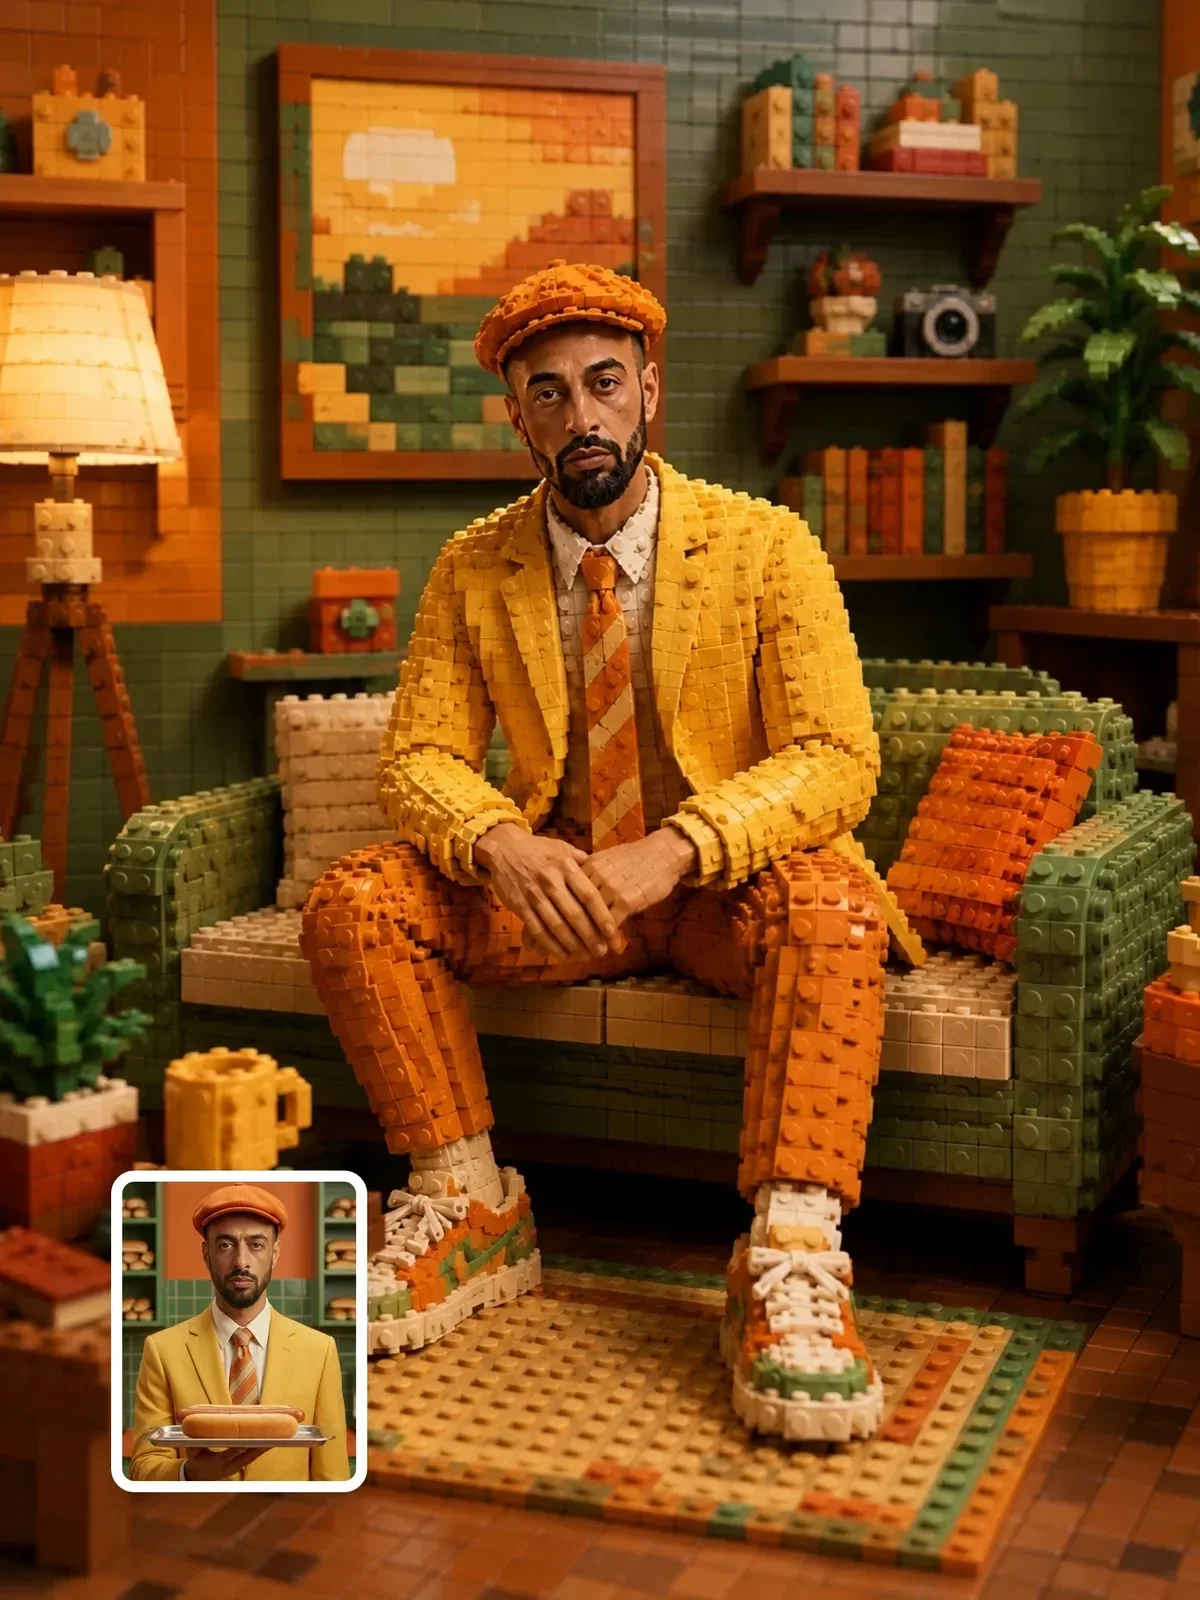
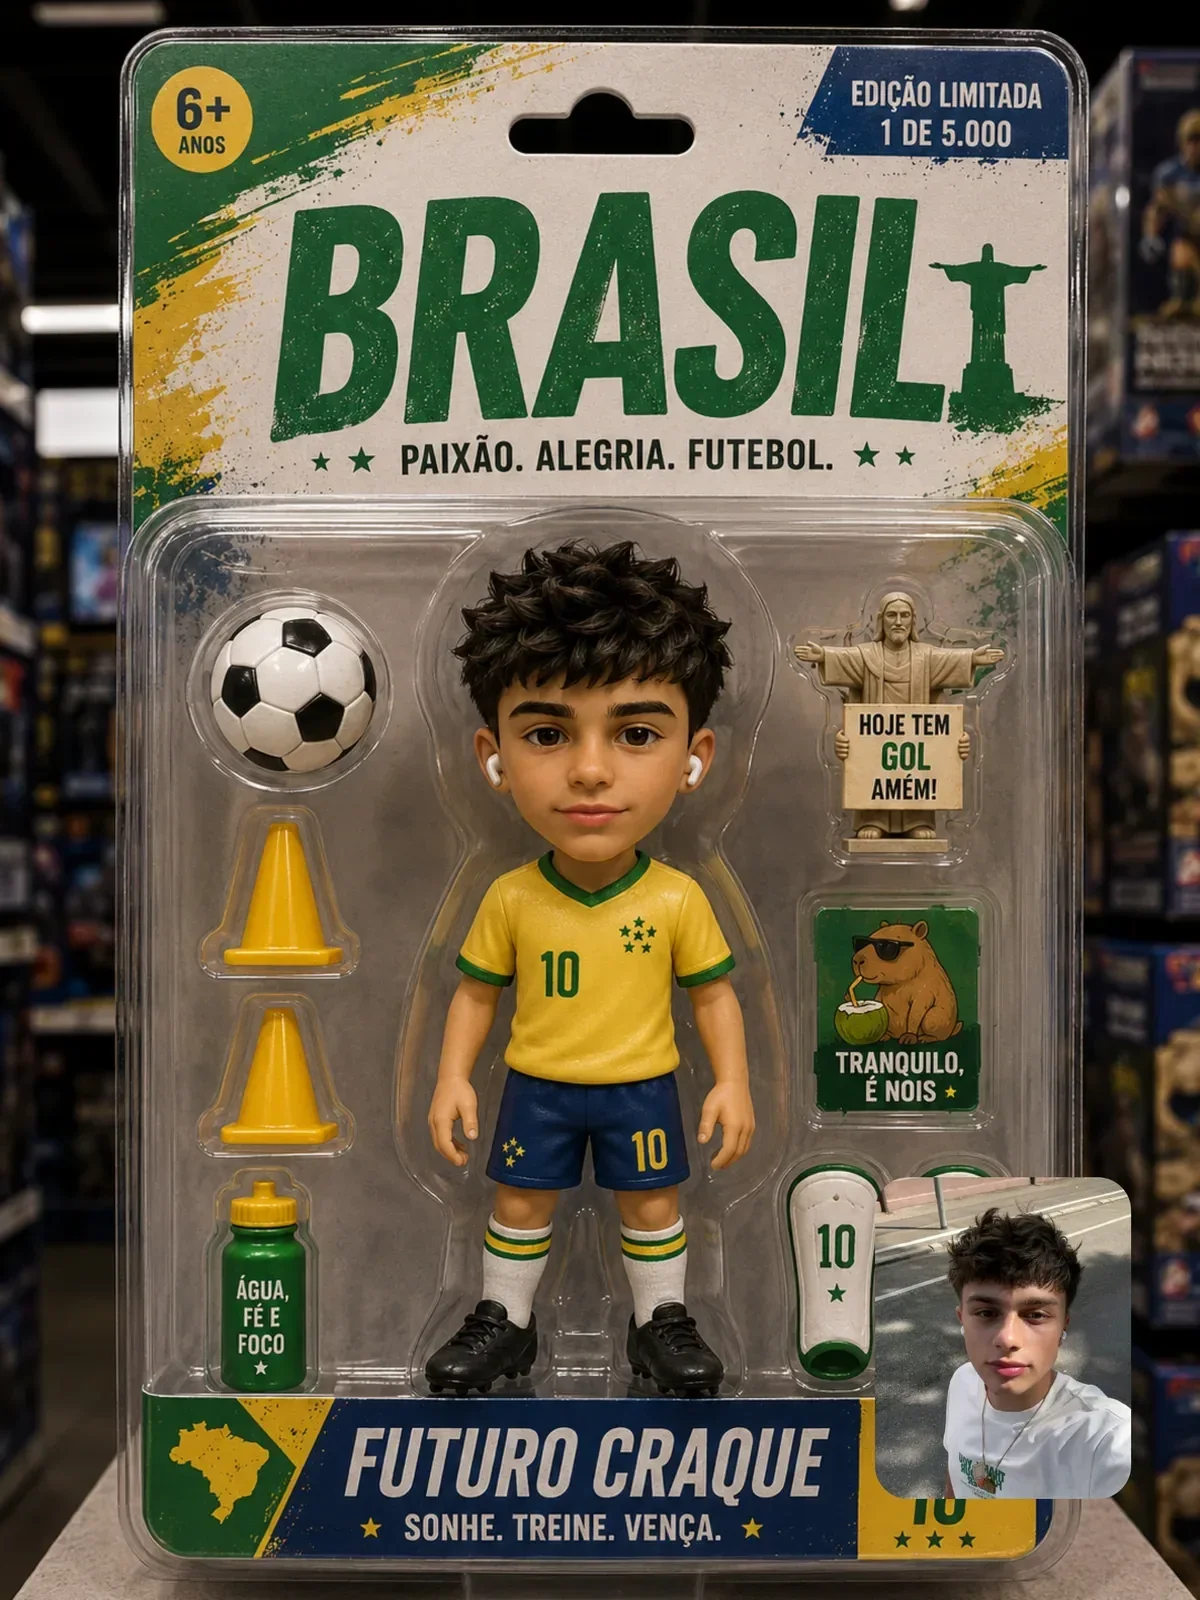
You can also turn a personal photo into a miniature, for example your balcony, your kitchen or a family picnic. Keep the composition of the original and ask for it rebuilt in clay and resin. Photos with clear spaces and a few objects translate best. For figurine versions of people, see turning photos into collectible toys.
Keep the scene focused. A miniature with one clear center, such as a bridge, a tower or a single house, reads better than an entire city squeezed onto one base. If you want more places, make a series of small dioramas in the same style and present them side by side.
A ten-minute scale test
Pick one scene, such as a busy street corner. Generate it four times, changing only one thing each time, and watch how the sense of size moves.
- Eye-level view, deep focus, natural color. It should look life-size.
- Same scene from 45 degrees above with a thin focus band.
- Add saturated colors and hard sunlight.
- Add a fingertip or a paintbrush at the edge of the frame.
Somewhere between step two and step four the street turns into a toy. Note where it happened for you; that is the cue to lean on in every miniature you make from now on.