Lighting Vocabulary for AI Prompts: 20 Terms That Change Everything
Twenty lighting terms photographers use, from hard light to gobos and gels, with what each one does to an AI image and how to write it in a prompt.
Visual AI Club7 min read
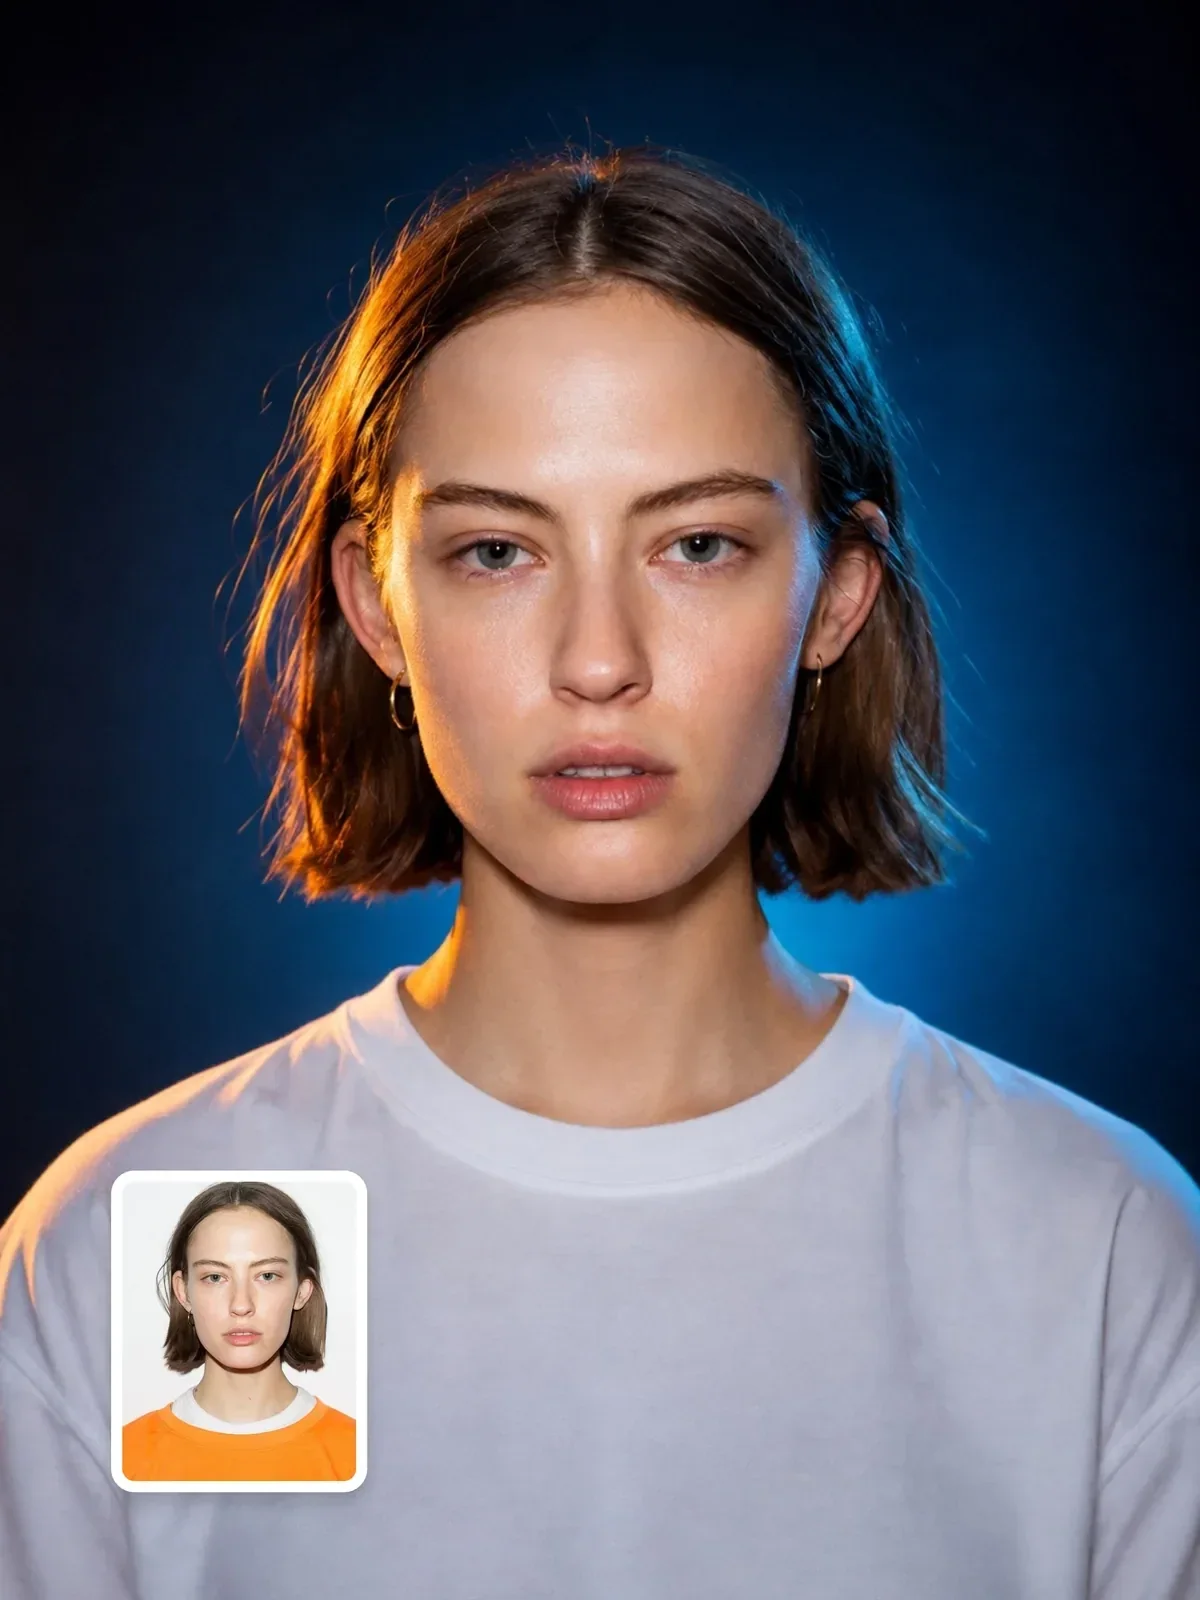
"Beautiful lighting" is the most common lighting instruction in AI prompts, and it does almost nothing. The twenty terms below are the words photographers and gaffers actually use. Each one describes something physical that a model has seen in thousands of labeled photos, so each one gives you a predictable change you can test today.
The terms are grouped by what they control: the quality of the light, its direction, the tools that shape it, the overall brightness, and its color. A strong lighting line in a prompt usually takes one word from three or four of these groups.
Quality: how hard or soft the shadows are
Shadow edges are the first thing a viewer reads, even without noticing. The rule behind them is simple: the larger a light source looks from the subject's point of view, the softer the shadow edge. Size is relative, which is why the sun, enormous but far away, makes razor-sharp shadows, while a small window right next to someone makes gentle ones.
- Hard light. A small or distant source with crisp, defined shadow edges and bright, punchy highlights. Think noon sun or a bare flash. Write it as
hard direct light, sharp-edged shadows. Great for fashion, graphic looks and summer heat. - Soft light. A large source close to the subject, producing gradual shadows that fade from light to dark. Flattering for skin, calm in mood. Write
soft diffused light, gentle shadow transitions. - Overcast light. A cloudy sky turns the whole sky into one huge diffuser. Shadows almost disappear, colors become saturated but quiet, and contrast drops. Useful for honest portraits and product shots outdoors.
- Window light. Soft light with a direction. One side of the face is lit and the light falls off quickly across the room, because intensity drops sharply with distance from the source. Say which side:
soft window light from the left, the far side of the face in gentle shadow.
Pair each quality term with a matching shadow description. Hard light alone can be overruled by the rest of the prompt; hard light casting a sharp shadow of the hat brim across the eyes cannot.
Direction: where the light comes from
Direction decides which parts of a subject are bright, which are dark, and therefore what shape the viewer sees. Light from the front flattens; light from the side reveals texture and form.
- Key light. The main light in the scene, the one that sets exposure and casts the dominant shadows. Naming it helps the model build a clear lighting plan:
key light: large softbox at 45 degrees camera left. - Fill light. A weaker light, or a reflector, on the opposite side that lifts the shadows without removing them. Less fill means more drama. Say how strong it is:
subtle fill, shadows still clearly visible. - Side light. Light at roughly 90 degrees to the camera axis. It rakes across surfaces and shows every bit of texture, which is wonderful for stone, bread, wood and older faces, and harsh for anything you want smooth.
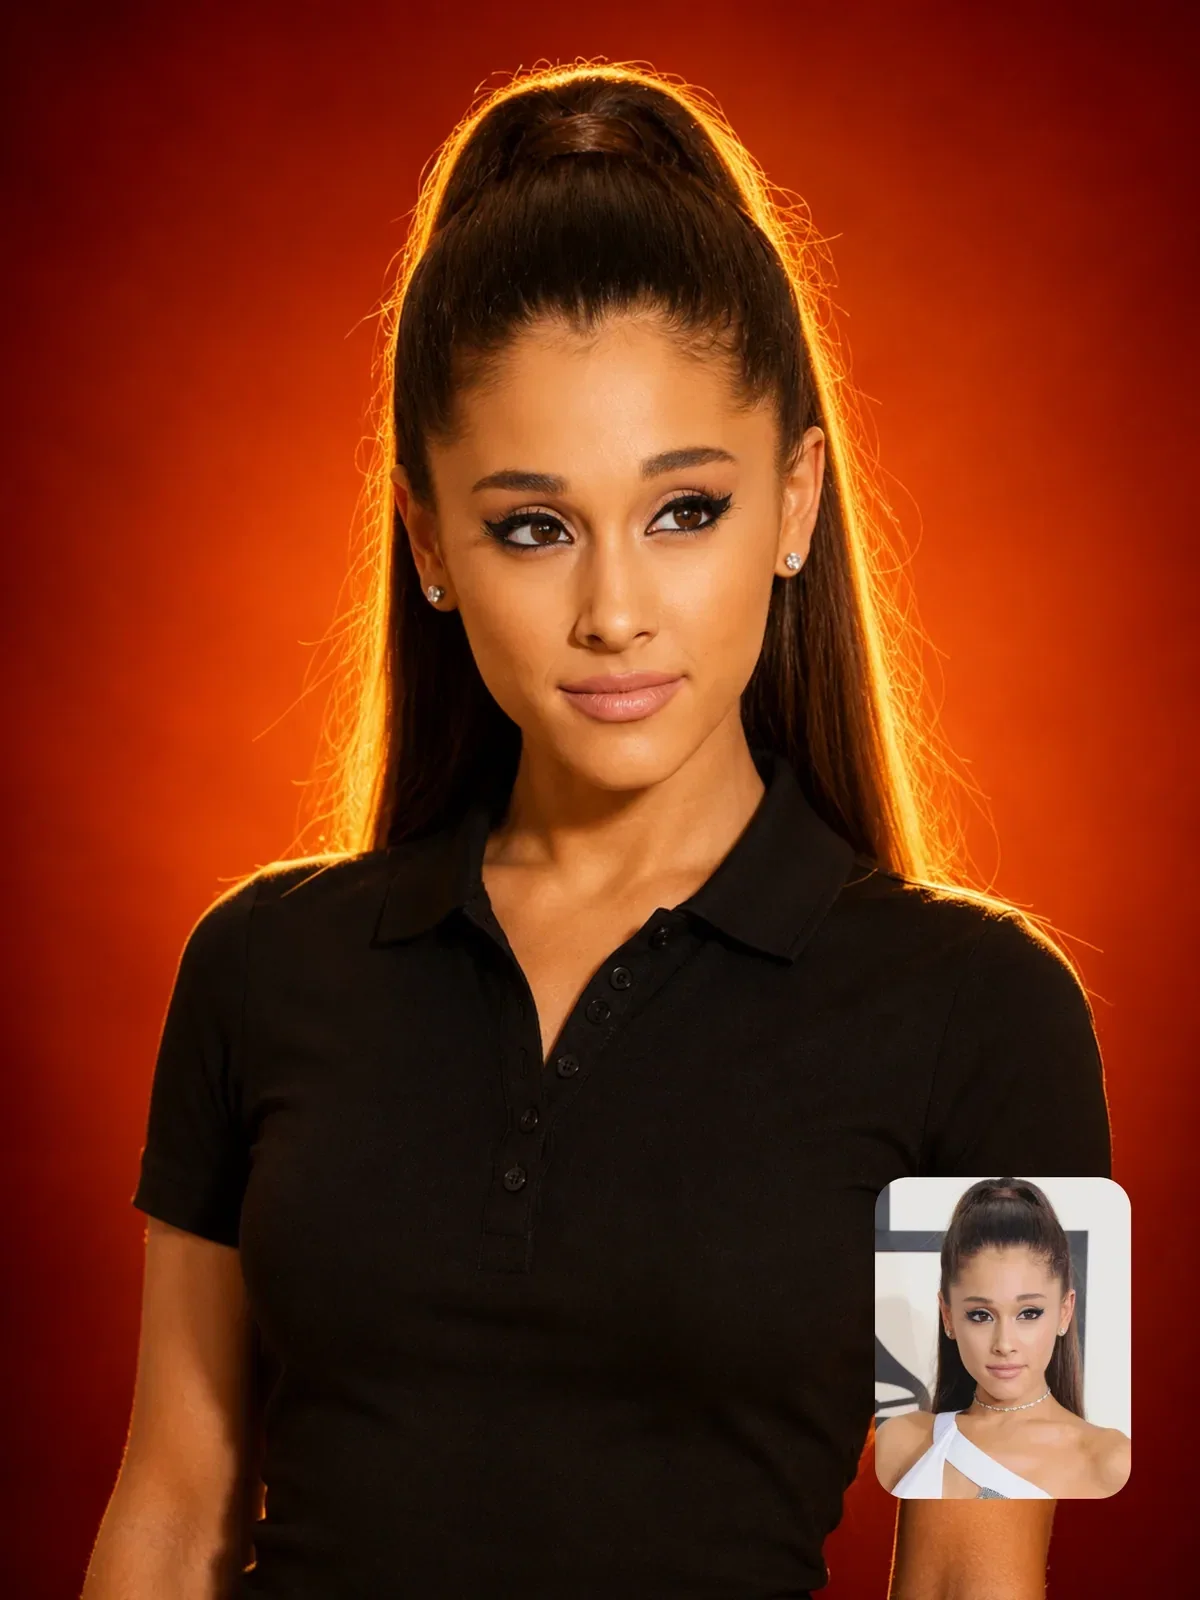
- Backlight. The source sits behind the subject, facing the camera. Hair glows, edges separate from the background, and with nothing in front you get a silhouette. Add
lens flareonly if you want it; many models will add it anyway. - Rim light. A narrow, often hard light from behind and to one side that draws a bright outline along the edge of a face or body. It is how cinematographers separate a dark-haired subject from a dark background.
- Top light. Directly overhead. Eye sockets fall into shadow and the mood turns severe or theatrical. Common in interrogation scenes and stage spotlights.
- Underlighting. From below, the classic flashlight-under-the-chin look. Shadows climb upward, which reads as eerie because sunlight never does this. Gentle underlighting from a tabletop candle or a phone screen is more natural.
The specific portrait patterns built from these directions (Rembrandt, butterfly, loop and split) have their own guide: studio lighting setups explained.
Shaping tools: modifiers that change the light
Photographers rarely use a bare bulb. They put something in front of it, around it or beside it. Naming the modifier is a shortcut to an entire look, because each one leaves a recognizable signature in highlights, shadows and catchlights.
- Softbox. A fabric box with a diffusing front. Even, soft, controllable light with rectangular catchlights in the eyes. The workhorse of clean commercial portraits and product photos.
- Beauty dish. A shallow dish with a small center plate. Crisper than a softbox but still flattering, with a glossy sheen on skin and round catchlights. Strongly associated with beauty and fashion close-ups.
- Grid or snoot. Attachments that narrow the beam into a tight pool. Use them for a single lit face in a dark room, a spotlit product, or one bright stripe on a wall:
a narrow gridded spotlight on the face, background falling to black. - Gobo. Short for "go between": anything placed between light and subject to cast a pattern. Window-blind stripes, leaf shadows, a lattice.
Hard sunlight through venetian blinds casting striped shadows across the wall and faceis one of the most reliable cinematic setups you can prompt. - Negative fill. A black card or flag placed beside the subject to absorb light and deepen shadows on that side. Ask for
negative fill on the right side, deep shadowswhen a soft setup looks too flat.
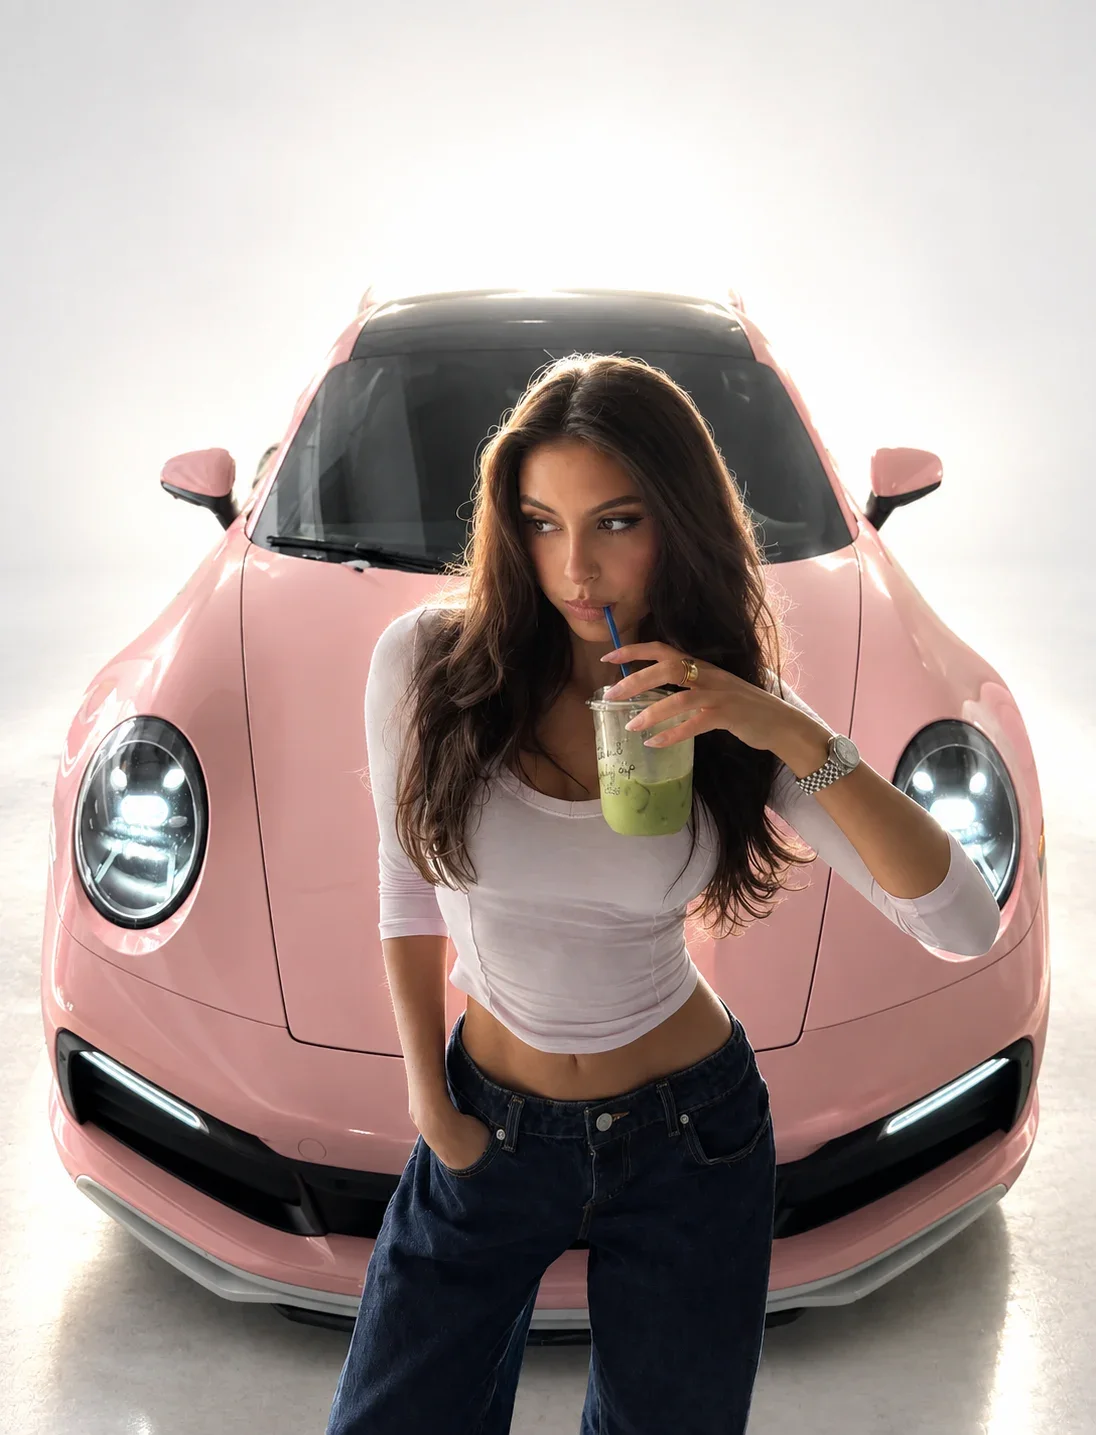
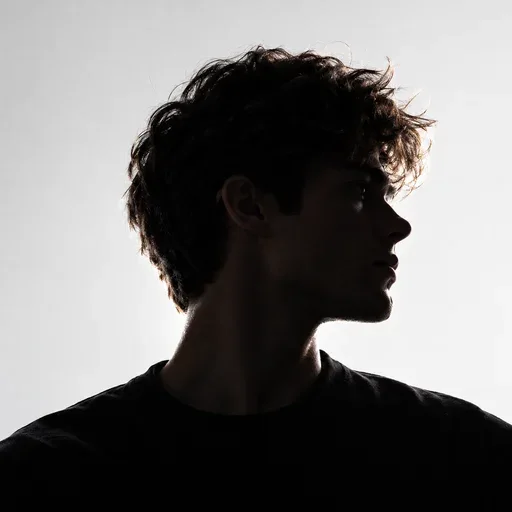
The cinematic white studio prompt combines several of these words: a bright high-key backdrop with a strong backlight creating a luminous rim. Read it with this list next to you and you'll see how each term earns its place.
Brightness and mood: the overall key
Two terms describe the overall brightness of a whole image, and they set the emotional temperature faster than any adjective.
- High-key. Mostly bright tones, light background, minimal shadow, low contrast. Reads as clean, optimistic, airy. Common in skincare ads, baby portraits and lifestyle brands.
- Low-key. Mostly dark tones with small areas of light, deep shadows and high contrast. Reads as moody, serious, intimate. A single grid or a narrow window beam is the usual source.
The two are opposite ends of a dial, so don't use them together. If your prompt says low-key and also bright, cheerful atmosphere, the model has to pick one and you won't know which.
Color: practicals and gels
Light has color, and contrast between colors is one of the strongest tools you have. Warm and cool light side by side reads as real because that is what we see every evening when lamps come on against a blue sky.
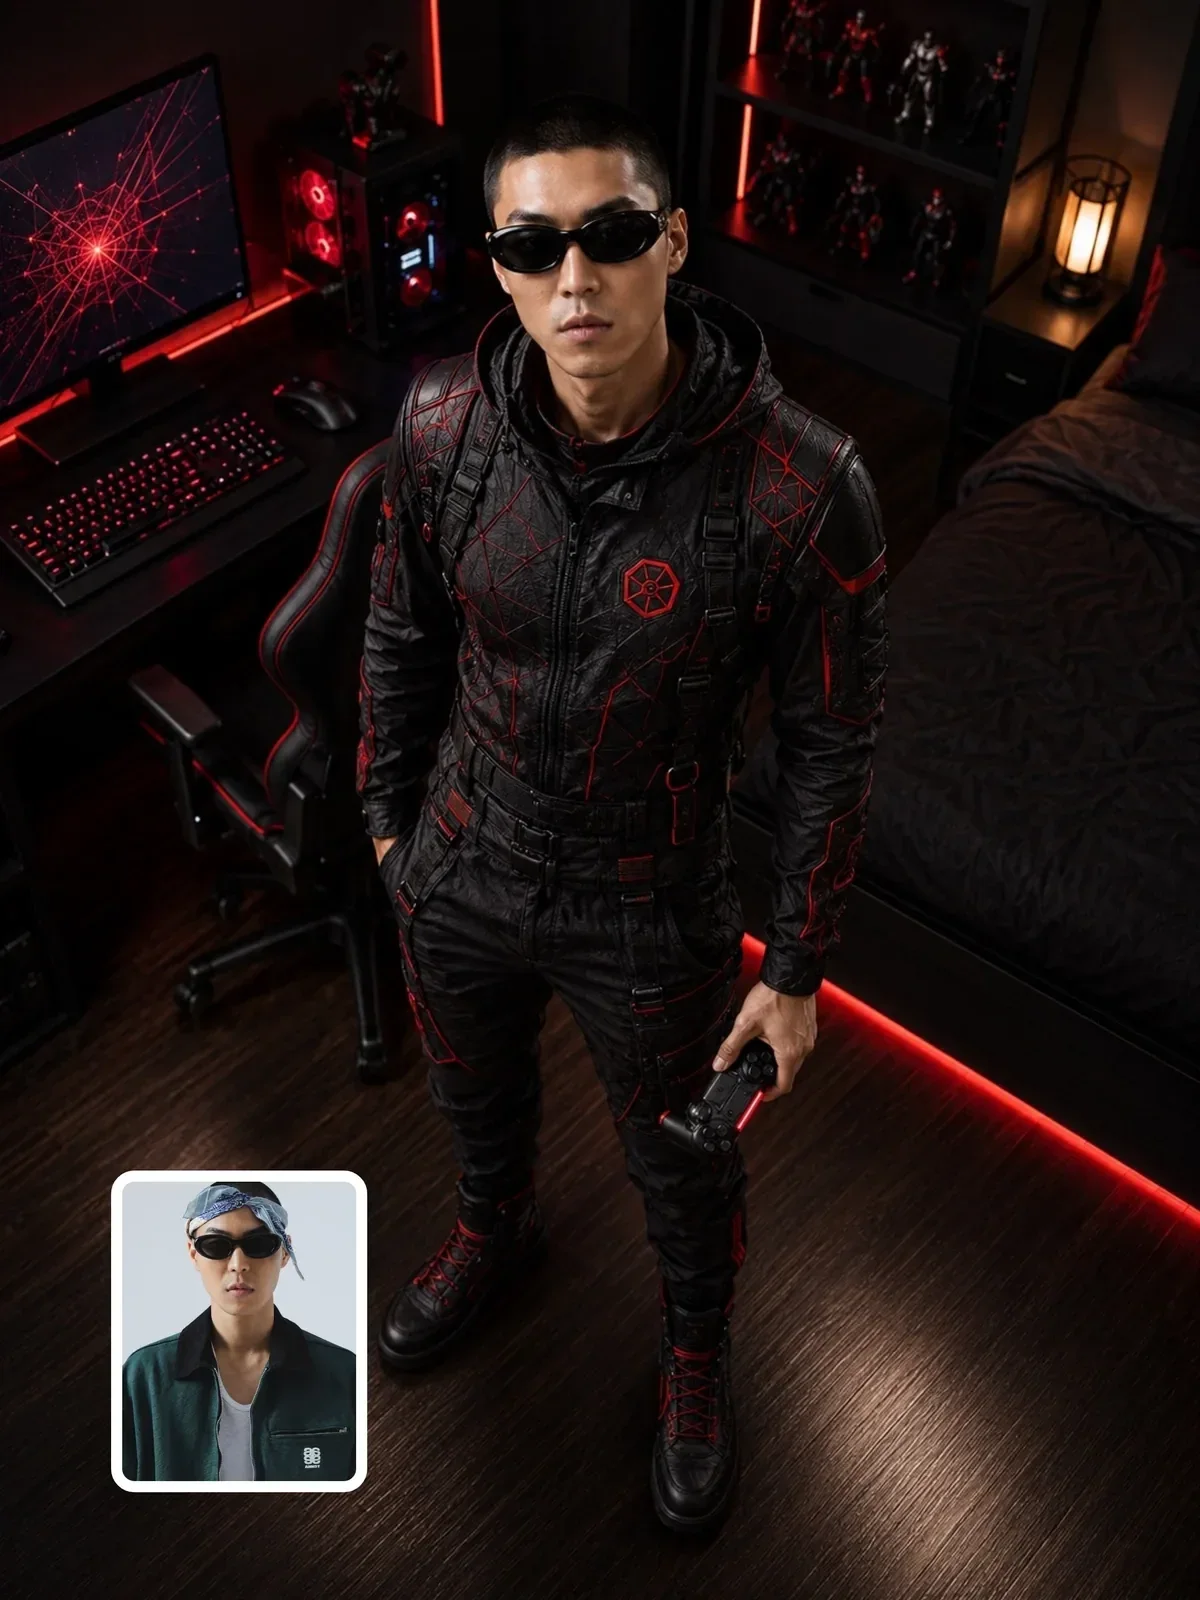
- Practical lights. Light sources visible in the frame: table lamps, neon signs, candles, string lights, a laptop screen. They motivate the lighting, meaning they give the viewer a believable reason for where the light comes from.
Lit only by a warm desk lamp in frameis more convincing thandramatic lighting. - Color gels. Colored filters over lights. Name the colors and which side they come from:
magenta gel from the left, cyan gel from the right, both hitting the face. Gels are why music videos and night-time fashion images look the way they do.
Warm and cool are also measured in Kelvin. Candlelight sits far down the warm end, household tungsten bulbs around 2,700 to 3,200K, daylight around 5,500K, and open shade on a clear day well above that, bluer. The golden hour and blue hour guide explains how to use those numbers for time of day.

Stacking terms into one lighting line
Here is what happens when you replace vague words with five or six of the terms above.
Portrait of a man in a leather jacket, dramatic lighting, moody, cinematic.
Portrait of a man in a leather jacket in a dark workshop. Low-key lighting. Hard key light from a gridded spotlight at 45 degrees camera right, a thin rim light from behind on the left, no fill, deep shadows on the far side of the face. A warm practical bulb hangs out of focus in the background.
The first version lets the model invent its own idea of drama, which often means teal-and-orange contrast and haze. The second describes a lighting plan a real photographer could set up, so the model has fewer gaps to fill with its defaults.
Keep the order logical: overall key first, then the key light, then fill and accents, then practicals and color. That mirrors how a photographer builds a setup, light by light, and keeps your prompt readable when you come back to edit it.
Practice: one subject, five lighting lines
Choose one simple subject, like a cup of coffee on a wooden table or a portrait from your own photo, and keep everything else in the prompt fixed. Generate it five times, changing only the lighting line:
Soft window light from the left, gentle falloff, subtle fill.Hard direct sunlight, sharp shadows, no fill.Low-key, single gridded spotlight from above, background black.Backlit with a strong rim light, slight haze.Hard sunlight through venetian blinds, striped shadows.
Lay the five results side by side. You'll see quickly which words your favorite tool follows faithfully and which it tends to soften, and you'll have five lighting lines ready to reuse. If you want help changing only one thing per round, the one-variable-at-a-time guide shows the method.